


NEW
Community Platform
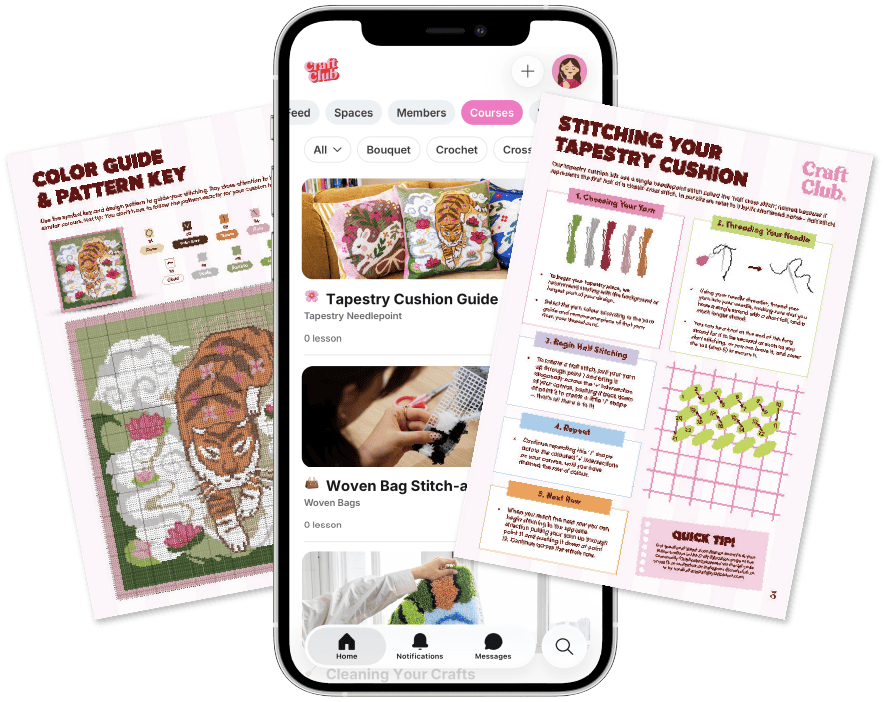
Your kit includes free access to our Community Clubhouse platform. Available as an app or website - access new drops, downloads, and a buzzing community of makers!
What's Inside The Clubhouse


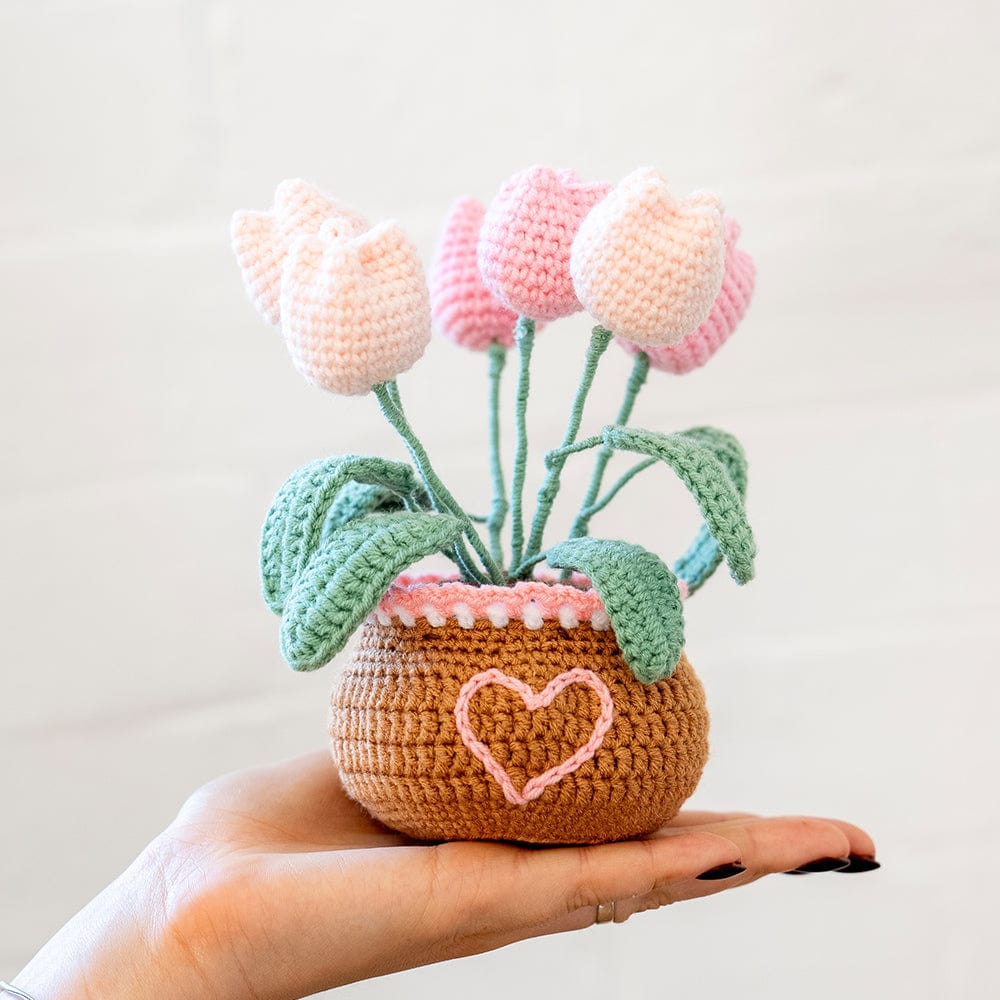
Tulip Pot | Crochet Guide
Welcome to your Digital Resources Guide for your crochet kit!
Thank you so much for supporting our small creative business — we’re so grateful to have you here.
If you have any questions, feel free to reach out to us at hello@craftclubco.com.
You'll also find a feedback form at the end of this guide — we’d love your input to help us make our guides even better! 🌼🌼🌼
How to use this guide
Depending on your Crochet Experience
💗 Crochet Newbie: If you're new to this craft, we recommend you go through this guide from top to bottom. Start off with our two practice videos: Foundational Stitches and Amigurumi Techniques. These two videos will teach you everything you need to know about the basics, ensuring that you have a great time when you start working on your crochet kit.
💗 Comfy Crocheter: If you've crocheted before and you're comfortable with the most common stitches (ch, sc, hdc, dc, magic rings) then you're probably ready to dive straight into the project. You can skip the intro videos and go straight to the meat of the guide.
💗 Crochet Pro: If you're an absolute pro and then you probably don't need our guide at all! If you want to save time, you can download the PDF pattern below and get straight into your project.
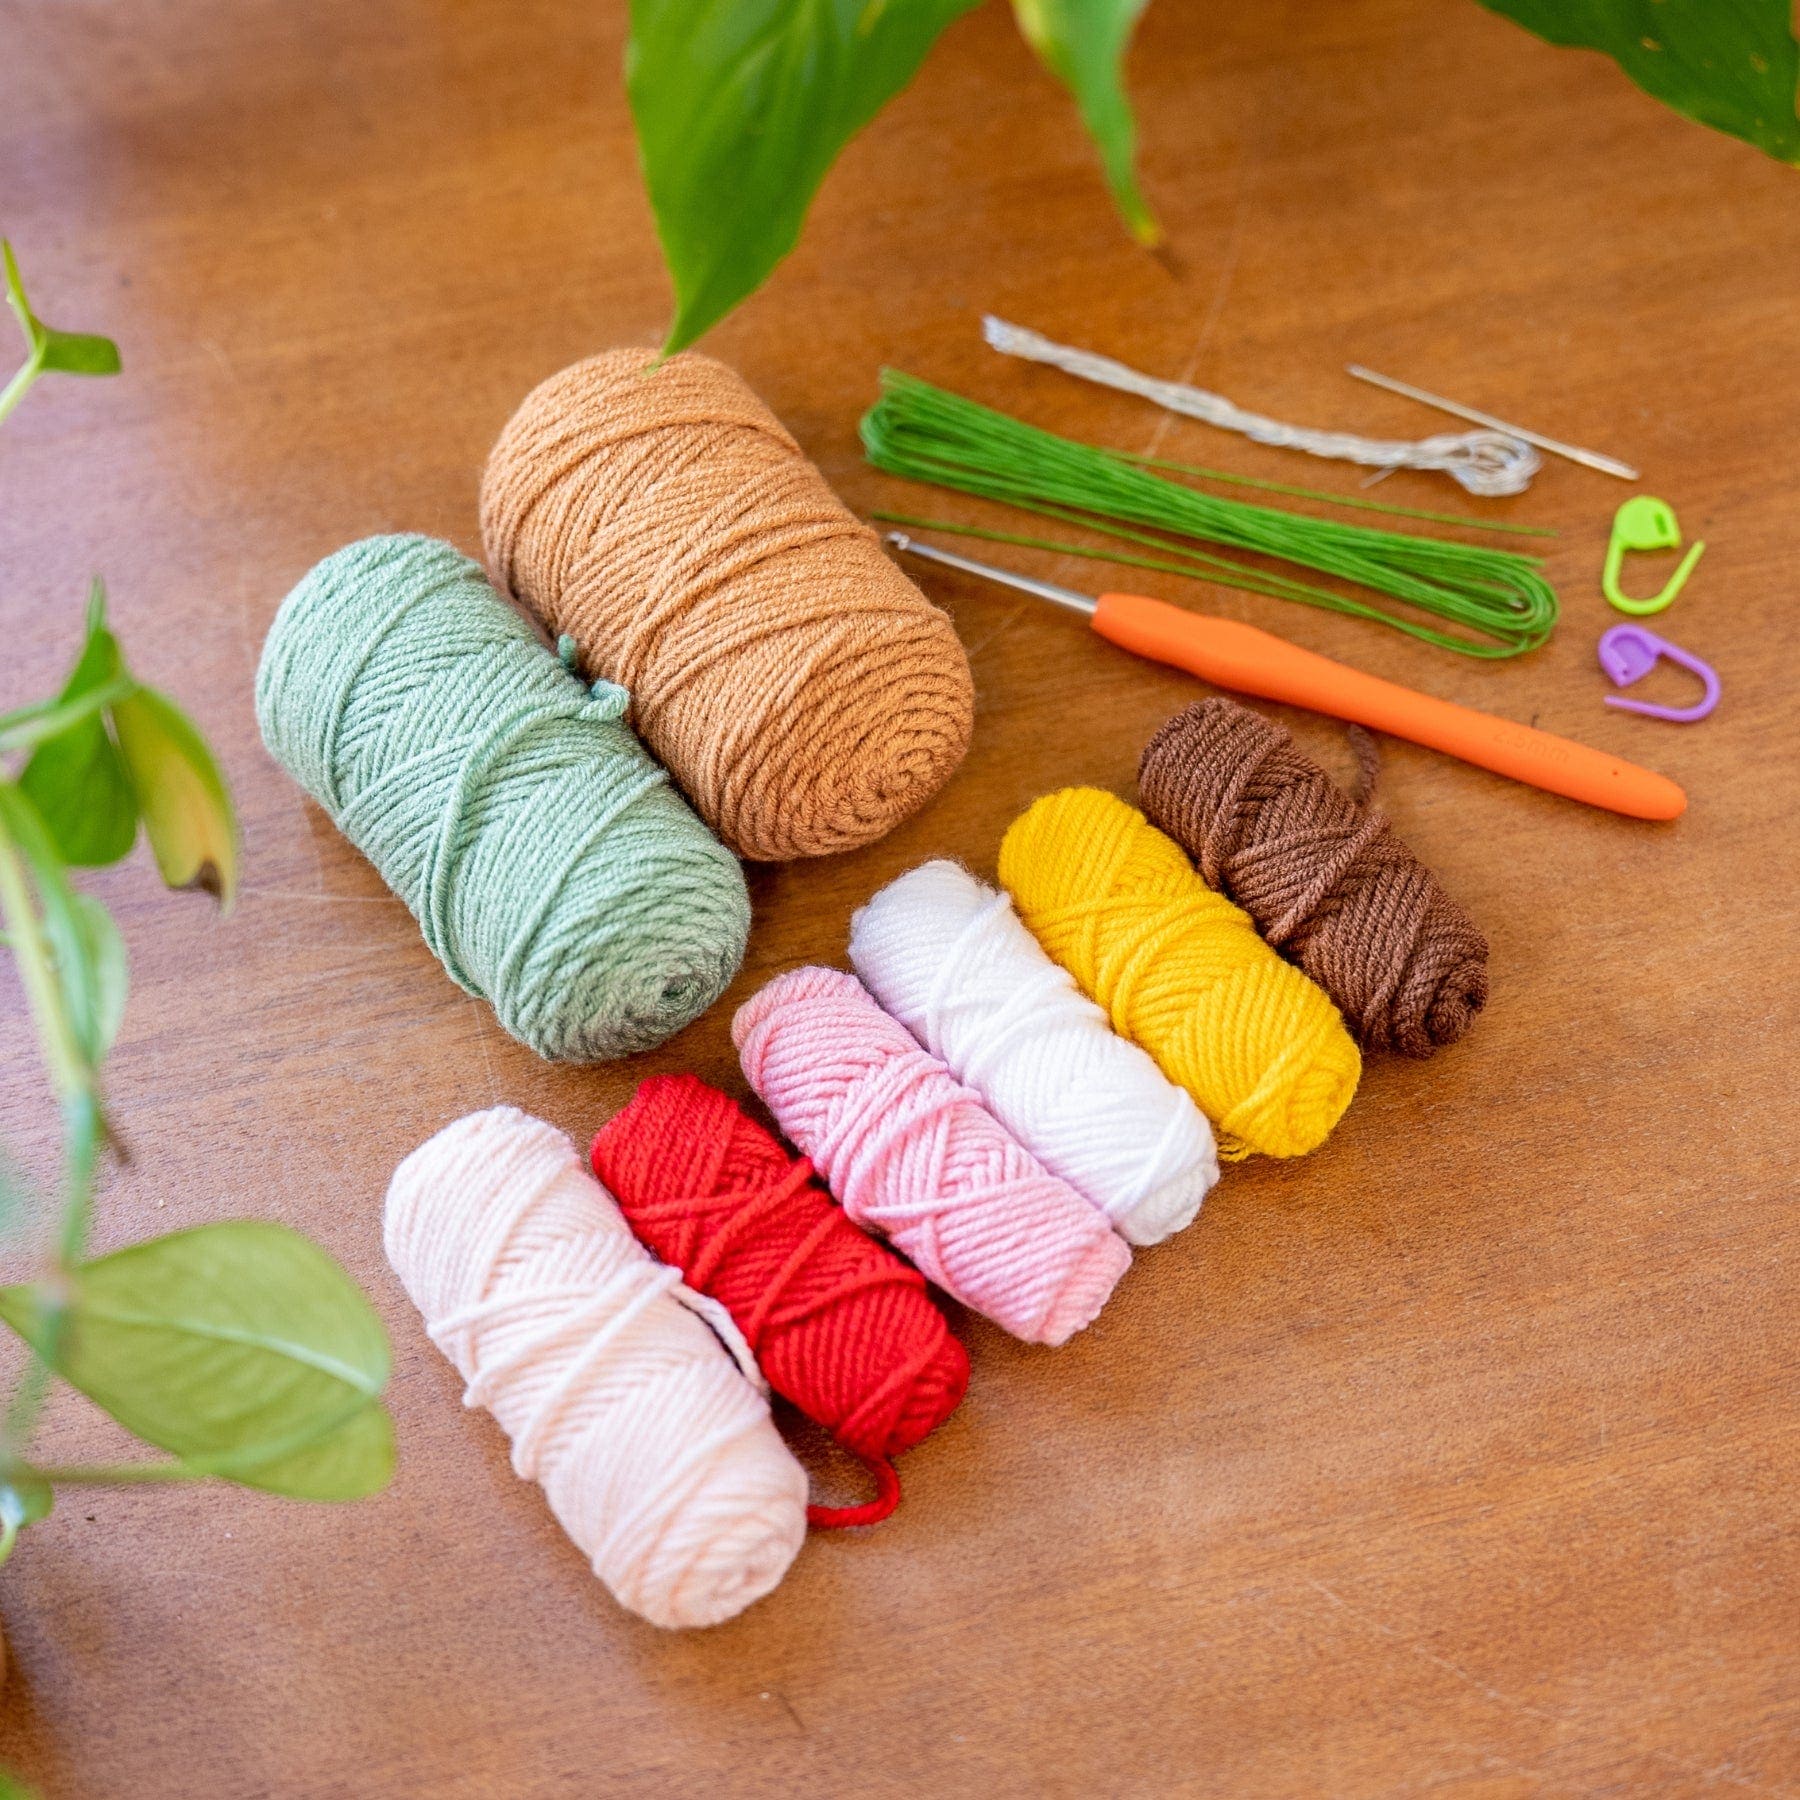
Inside Your Kit
Download Your Pattern
Click the button below to download your PDF pattern for this kit. This can be used either as support with the digital guide, or if you're a crochet pro you can complete your kit only using this guide.
Crochet Terminology
This kit uses US terminology. Scroll across to see the full list of pattern terms.
- ch - Chain Stitch
- sc - Single Crochet
- hdc - Half Double Crochet
- dc - Double Crochet
- tc - Treble Crochet
- sl st - Slip Stitch
- inc - Increase
- dec - Decrease
- FLO - Front Loop Only
- BLO - Back Loop Only
- x - Repeat this step as instructed
- turn - Turn your work
- * y * - Stitch the steps inside the asterisks into one stitch
- ( y ) - Repeat the steps inside the brackets
- [ y ] - Total stitches in the row/round
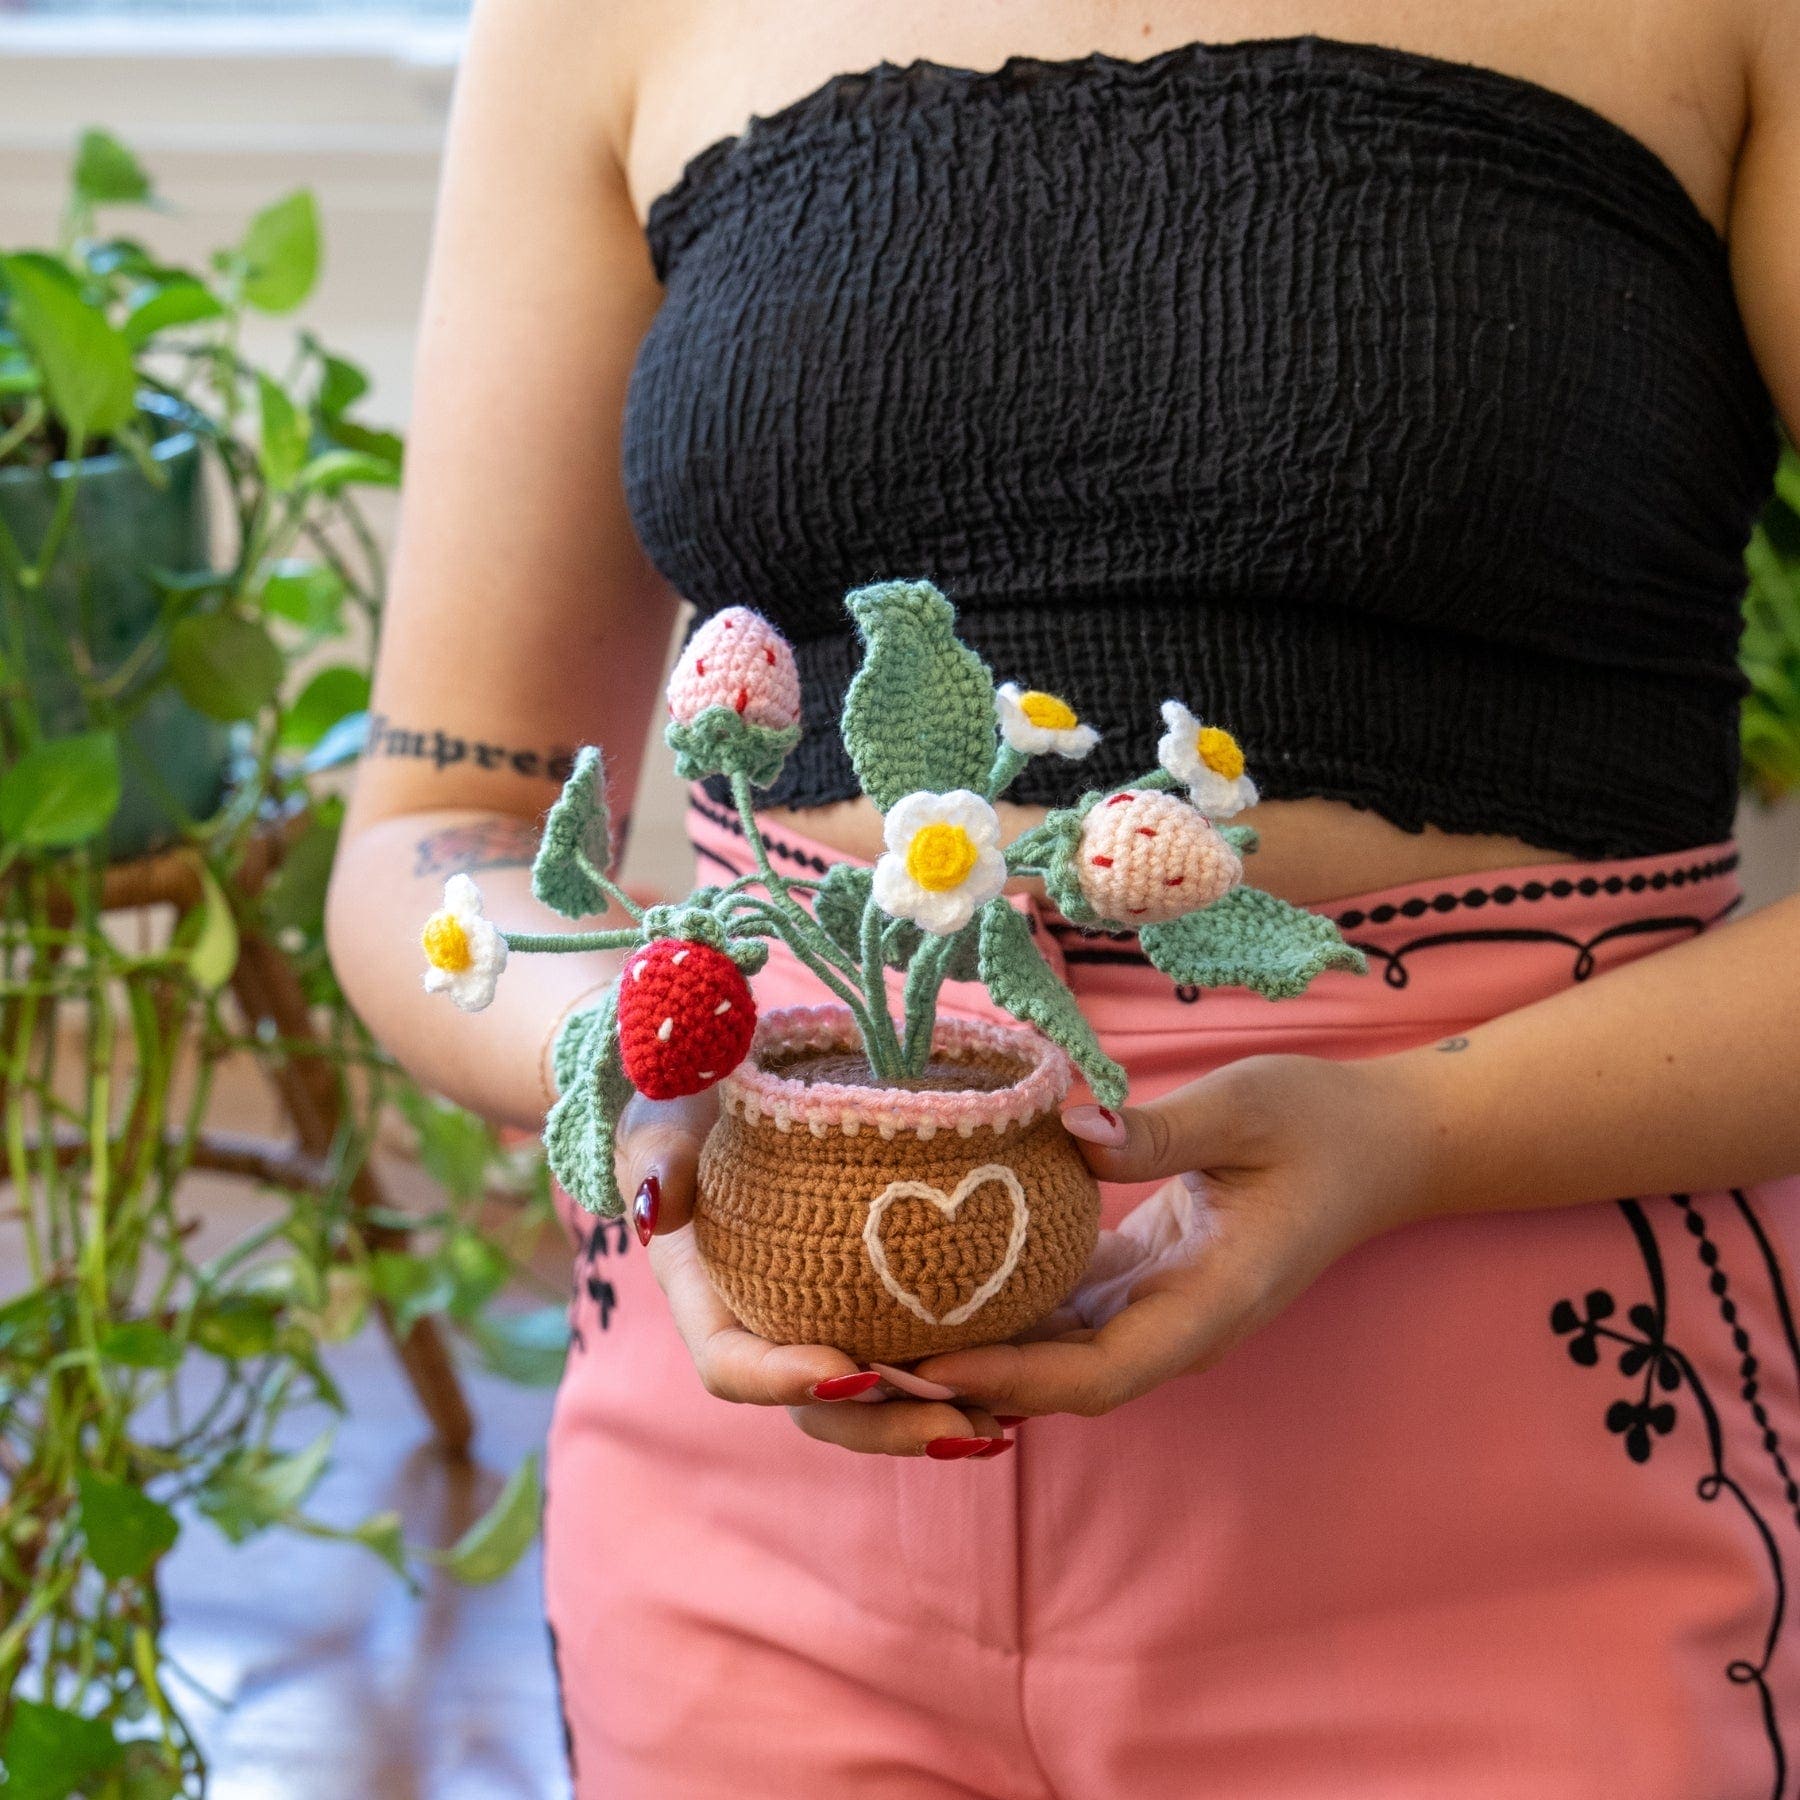
What you'll be making
How to Crochet
If you're a crochet newbie, it's worth watching these two videos to learn the basics of crochet.


Tulip Pot | Crochet Guide
🌷 Welcome to your Tulip Pot project!
Below you’ll find all the steps you need to bring your creation to life.
✨ Tip: We recommend downloading the PDF pattern so you can easily follow along while watching the video guides!
🎥 What's In Your Kit
Take a look at the video below for a full breakdown of everything inside your kit!
It’s super handy to get a quick overview of all the materials you’ll be using to create your beautiful Tulip project. 🌷
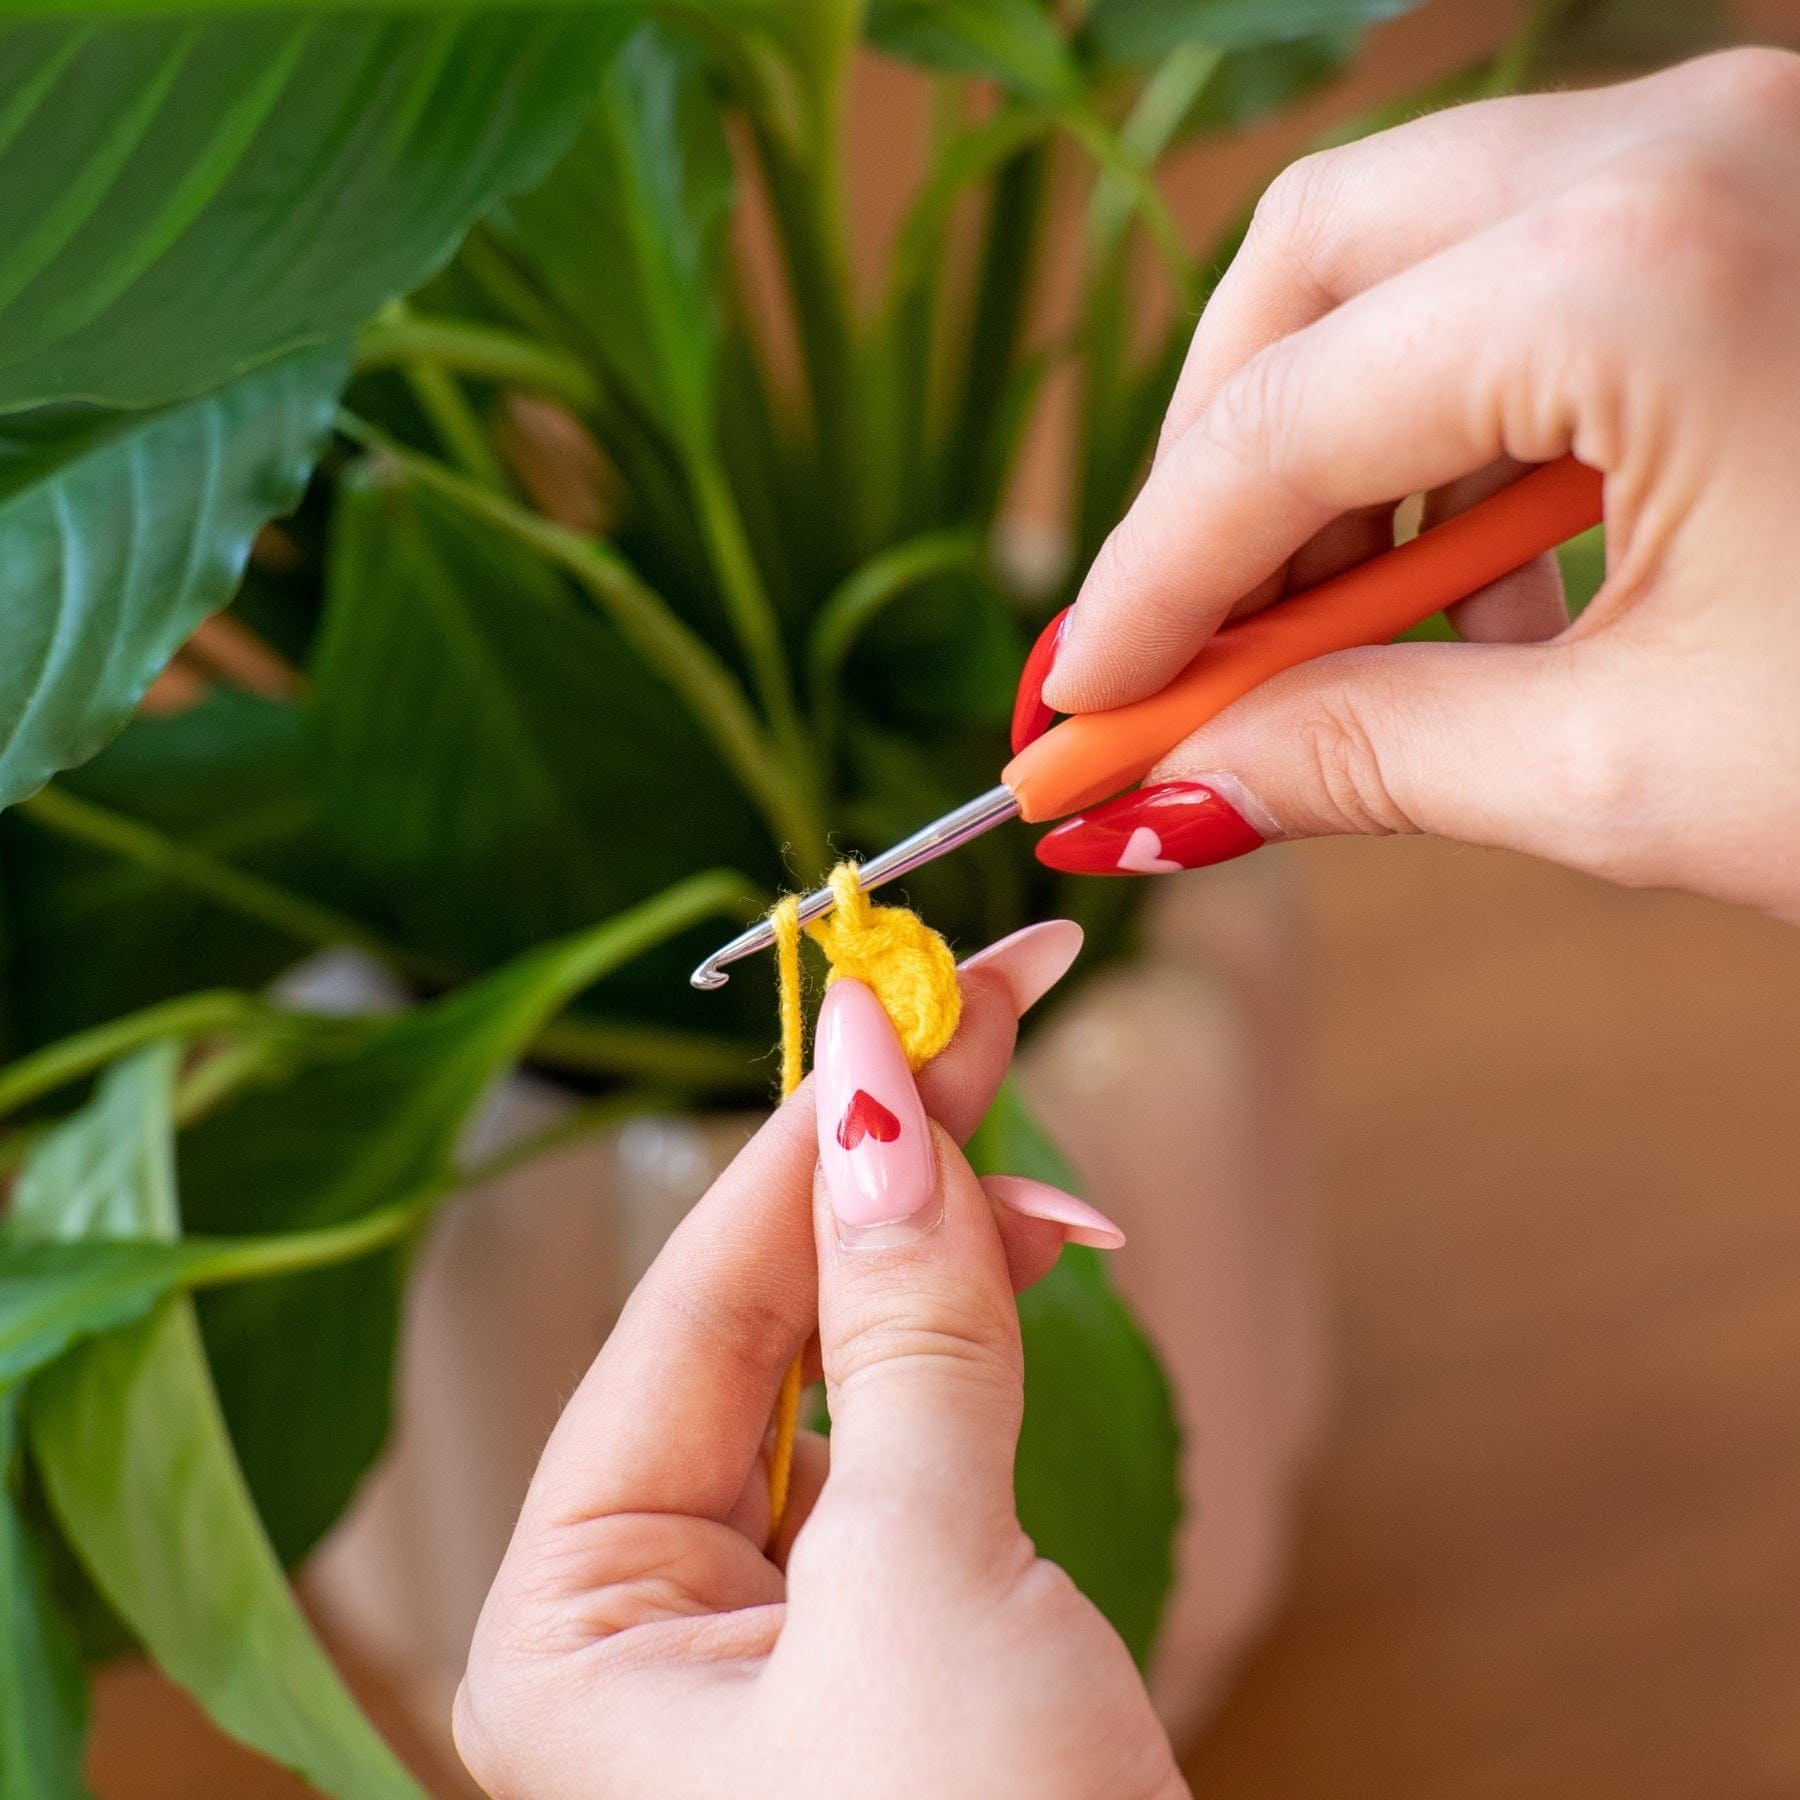
🧵 Step 1: Create Your Tulip Pot
First up, we’ll be making the light brown pot! You’ll be working in the round and using a mix of techniques, including:
- Increases
- BLO (Back Loop Only)
- FLO (Front Loop Only)
- Double crochets
In this section, you’ll complete:
- 🪴 The Brown Pot
- 💛 Heart or Bow decorations (your choice!)
- 🌱 The Dark Brown Soil
- 🧩 Assembling it all together
🌷 Step 2: Make Your Tulips
Now it’s time to crochet your 6 beautiful tulips using your light pink and bright pink yarns!
Each tulip is made separately using simple stitches. You’ll be working in the round, building up the shape before adding that classic scrunched tulip look. 🌸
Here’s what you’ll be doing:
- Start by creating a magic ring.
- Crochet your tulip body by increasing and then stitching in the round.
- Once finished, stuff your tulip lightly with polyfill.
- Fold the top and sew opposite sides together to create the signature scrunched tulip shape.
- Fasten off and weave in your ends.
✨ Tip: Check the video tutorial to see exactly how to fold and stitch your tulip for the perfect shape!
🍃 Step 3: Make Your Tulip Leaves
Now it’s time to crochet your 6 tulip leaves! 🌱
Each leaf is stitched directly around the wire to give it a natural shape and help it stand upright in your pot.
Here’s the process:
- Start by creating a foundation chain.
- Work along both sides of the chain to shape your leaf.
- Attach the stitches around the wire as you go to keep it sturdy.
✨ Tip: Don’t worry if your leaf curves a little - it adds to the natural look!
🪴 Step 4: Assemble Your Tulips and Stems
Now it’s time to bring everything together!
Here’s what you’ll do:
- Weave in all the yarn ends using your weaving needle.
- Attach the thicker wires to each tulip to create sturdy stems.
- Add the leaves by attaching them to your tulip stems - you can arrange them however you like! 🌿
- Wrap the stems and leaves tightly with sage green yarn until the wire is completely covered.
✨ Tip: Take your time wrapping the yarn - this gives your tulips a neat and polished look!
🧶 Step 5: Assemble Your Pot
It’s time to put all your pieces together!
You can follow along with the full assembly process in the final chapter of your Pot Tutorial Video: Click video below to start at that timestamp ❤️)
🎉 Congratulations - You've Finished Your Crochet Tulip Pot Kit!
And just like that… you’re DONE! 🌷✨
Take a moment to appreciate everything you’ve achieved - you’ve learned new skills, practiced patience, and brought something beautiful to life with your own two hands. 🧶💖
You should feel so proud of the hard work, creativity, and care you put into every stitch. This tulip pot is a little reminder of what you’re capable of - persistence, creativity, and a whole lot of heart. 💛
🌟 Display your masterpiece somewhere special — your desk, shelf, or coffee table - and let it remind you of how awesome you are.
You did this. And we hope you’re feeling as proud of yourself as you should be. 🌸
With Love, The Craft Club Team
Thank You!
We hope you've enjoyed your Craft Club crochet kit! If you have, please leave us a review - they make a huge difference for our small business.
If you have any feedback or questions, please reach out to us at hello@craftclubco.com
We're always looking to improve our kits and instructions so that they're the best they can be for our customers!