






NEW
Community Platform
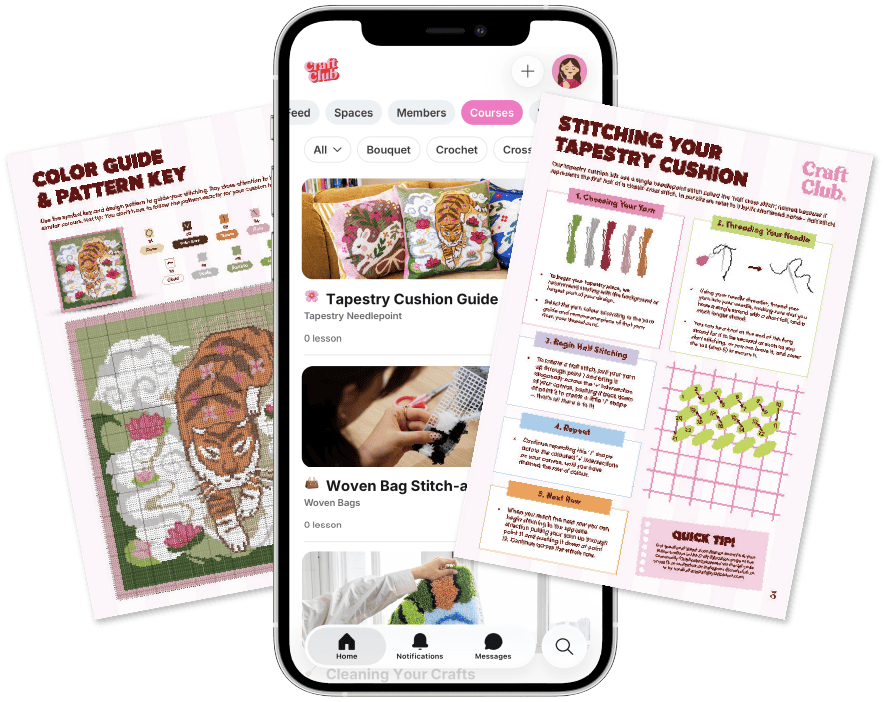
Your kit includes free access to our Community Clubhouse platform. Available as an app or website - access upgraded tutorials, and a buzzing community of makers!
What's Inside The Clubhouse



Fruity Pingu™ Embroidery Trio
Welcome to the online guide for your FRUITY PINGU™ Embroidery Trio Kit 🍋🍓🍌
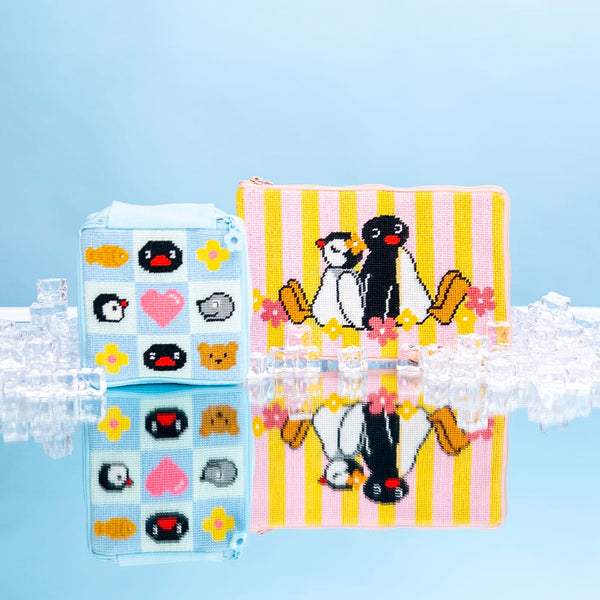
Playful, relatable, and charmingly expressive, this Pingu embroidery trio brings the humour and delight of our favourite penguin and his sister, Pinga 🐧
The Designs
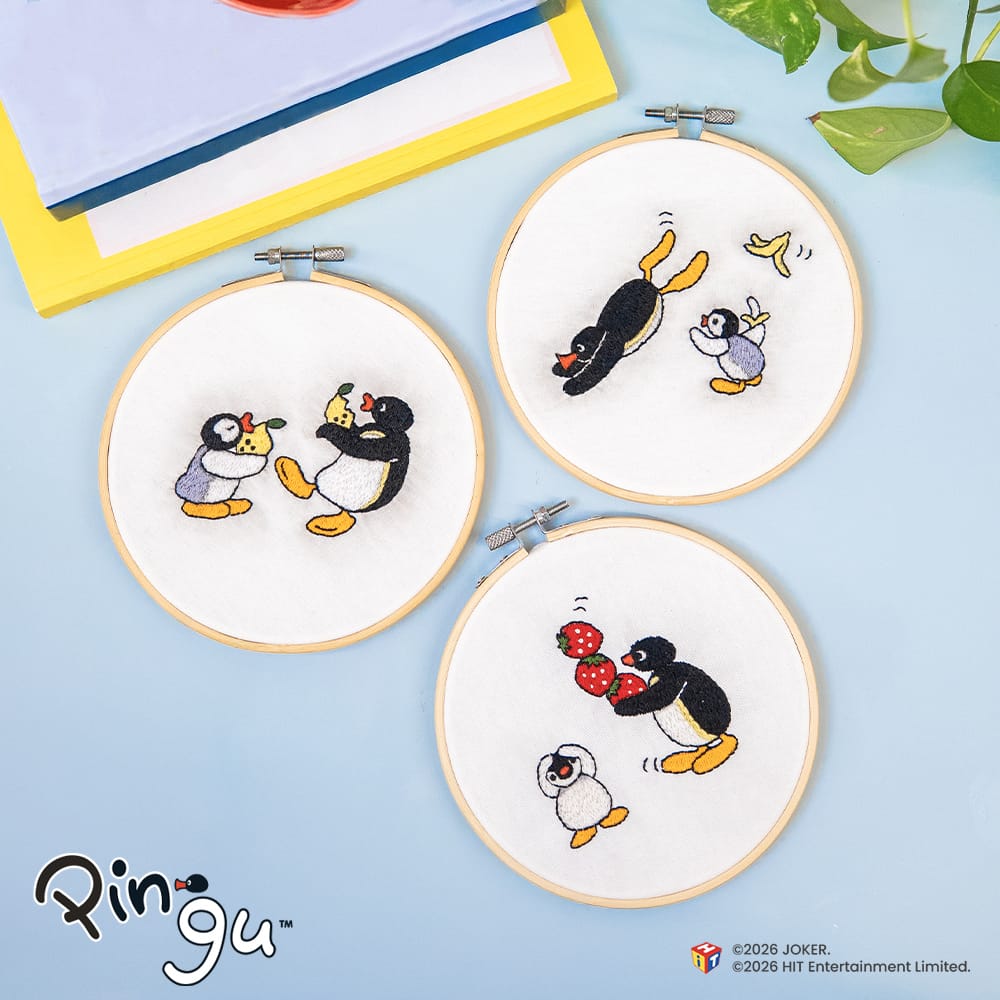
The Fruity Pingu™ Embroidery Trio Kit comes with three designs, and all the materials to complete them all. Below you'll see the different embroidery techniques and colours in each design, followed by video instructions.
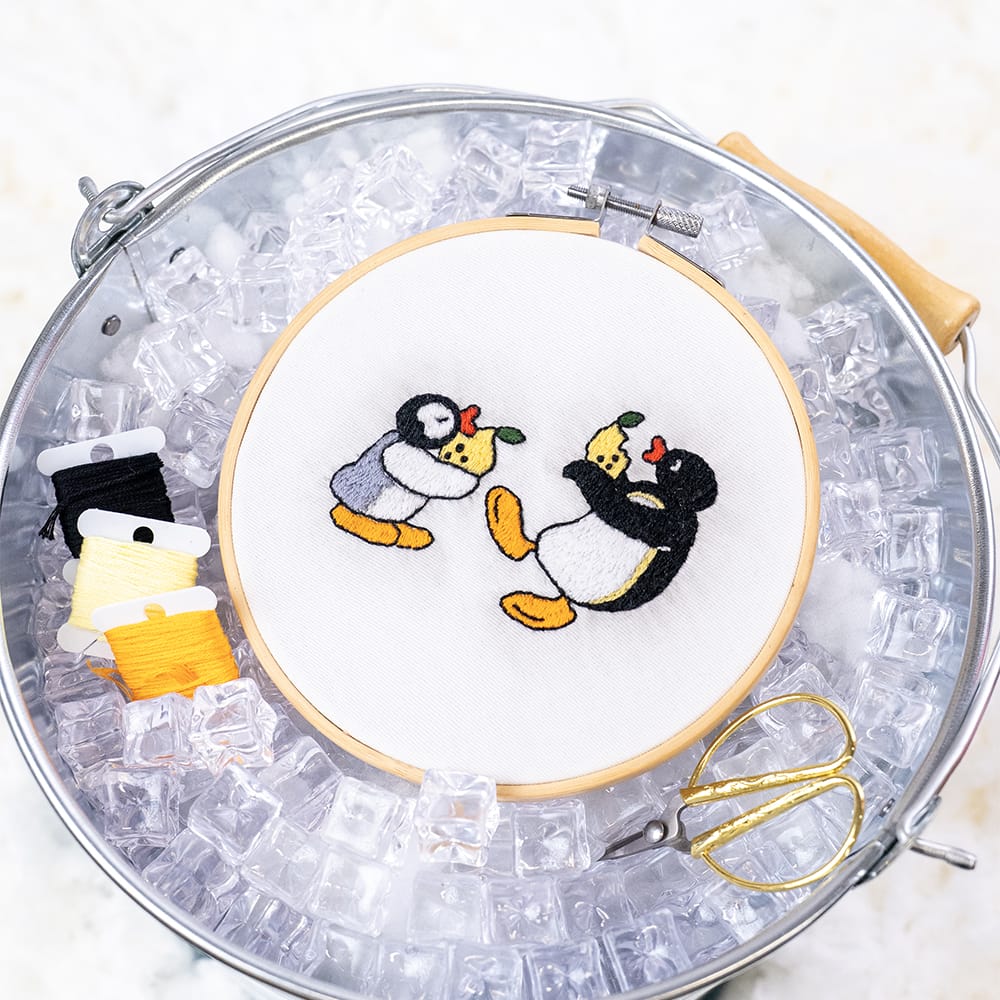
Lemon 🍋
You can create each section in any order you like, but if you're new to embroidery we recommend the following order.
🐧 Back stitch outlines in Snow and Licorice
🍋 Long & short stitch Pingu's body and head with Licorice, Snow, and Butter, and his feet with Goldfish
🐧 Satin stitch Pingu's eyes with Licorice and Snow, and his beak with Noot Red
🍋 Long & short stitch Pinga's body and head with Snow, Gray Seal, and Licorice, and her feet with Goldfish
🐧 Satin stitch Pinga's eyes with Licorice, and her beak with Noot Red
🍋 Long & short stitch lemons in Butter
🐧 Satin stitch the lemon leaves in Leaf
🍋 Create dimples with Licorice using a French knot
Scroll down to see each detailed video tutorial.
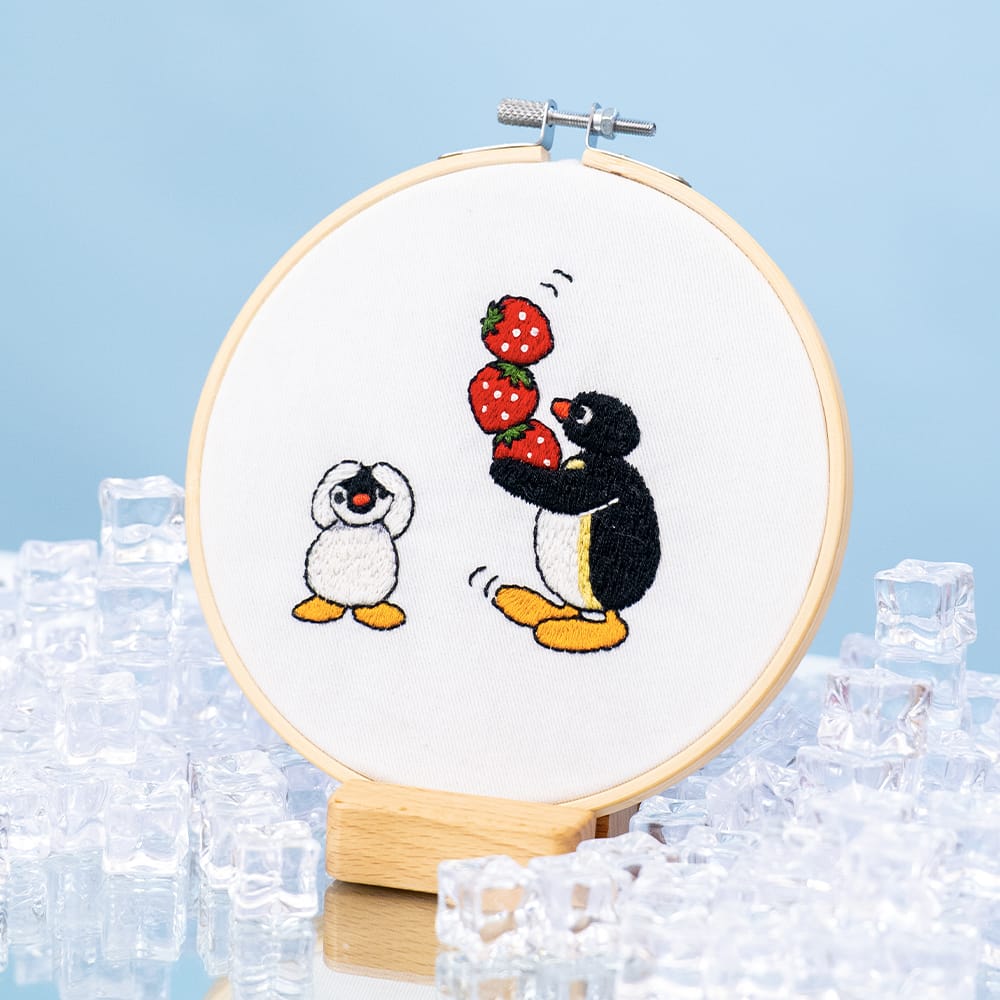
Strawberry 🍓
You can create each section in any order you like, but if you're new to embroidery we recommend the following order.
🐧 Back stitch outlines in Snow and Licorice
🍓 Long & short stitch Pingu's body and head with Licorice, Snow, and Butter, and his feet with Goldfish
🐧 Satin stitch Pingu's eyes with Licorice and Snow, and his beak with Noot Red
🍓 Long & short stitch Pinga's body and head with Snow, Gray Seal, and Licorice, and her feet with Goldfish
🐧 Satin stitch Pinga's eyes with Licorice, and her beak with Noot Red
🍓 Long & short stitch strawberries in Berry
🐧 Satin stitch the lemon leaves in Leaf
🍓 Create seeds with Snow using a French knot
Scroll down to see each detailed video tutorial.
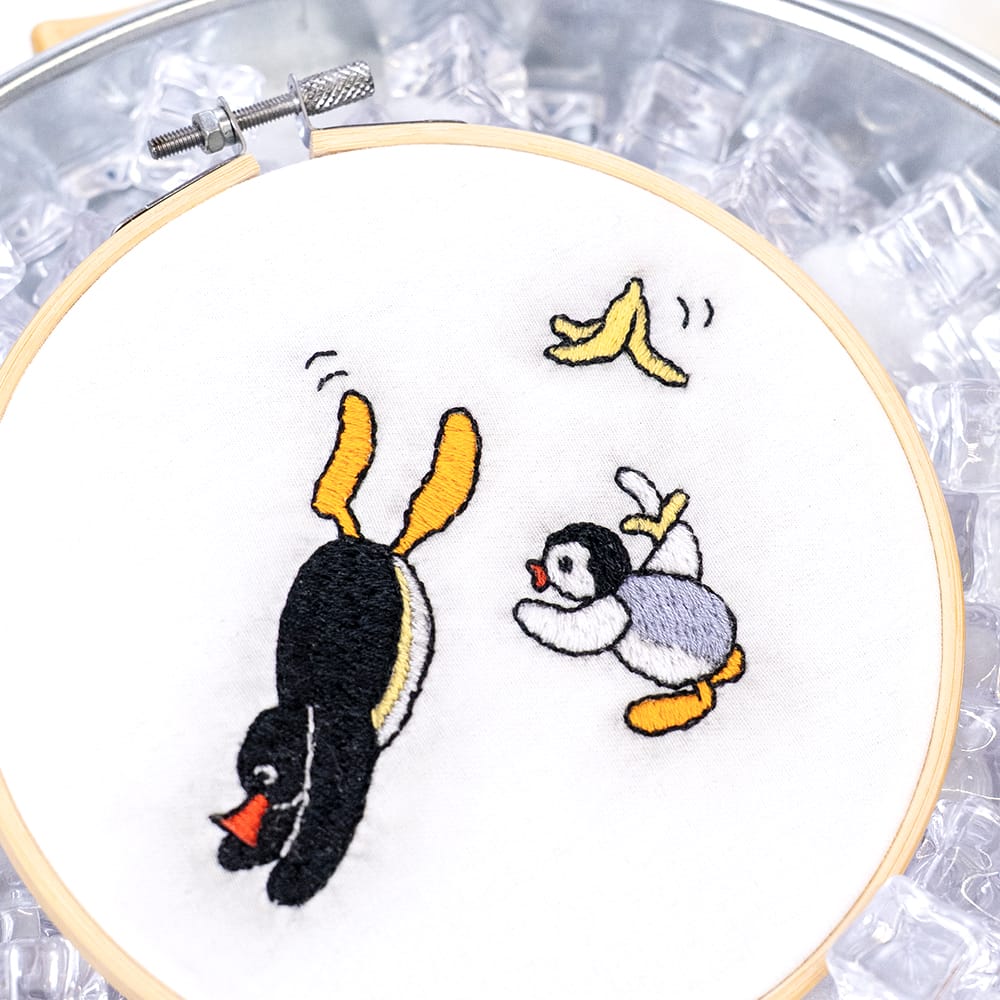
Banana 🍌
You can create each section in any order you like, but if you're new to embroidery we recommend the following order.
🐧 Back stitch outlines in Snow and Licorice
🍌 Long & short stitch Pingu's body and head with Licorice, Snow, and Butter, and his feet with Goldfish
🐧 Satin stitch Pingu's eyes with Licorice and Snow, and his beak with Noot Red
🍌 Long & short stitch Pinga's body and head with Snow, Gray Seal, and Licorice, and her feet with Goldfish
🐧 Satin stitch Pinga's eyes with Licorice, and her beak with Noot Red
🍌 Long & short stitch the inside of the banana with Snow, and the outside with Butter
Scroll down to see each detailed video tutorial.
Threading Your Needle
This video will show you how to thread your embroidery needle with the needle threader.
Threading Your Needle
Preparing Your Hoop
This video will show you how to prepare your hoop so you can get stitching!
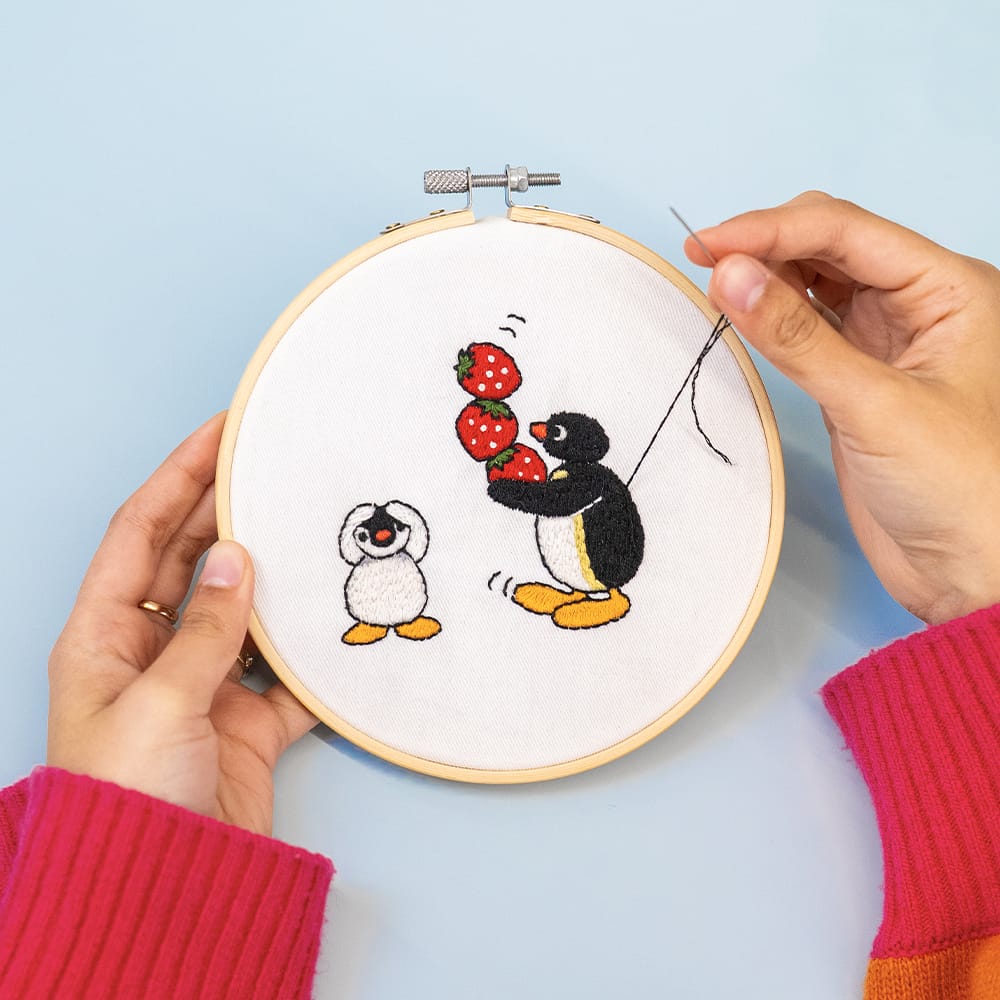
Preparing Your Hoop
Stitch Techniques
Straight Stitch
In this tutorial I will show you how to create a simple Straight Stitch - the foundation of many stitches, including the back stitch, satin stitch, and long & short stitch.
🐧 Push your needle up through the fabric.
🐧 Bring it back down approximately one stitch space forward and pull through to the back of the fabric.
🐧 That's it.
Back Stitch
In this tutorial I will show you how to create a simple Back Stitch - a fantastic foundational stitch for all kinds of line work an details.
🐧 Push your needle up through the fabric.
🐧 Bring it back down approximately one stitch space forward and pull through to the back of the fabric.
🐧 Going back up through the fabric a stitch space forward from where you brought the needle through.
🐧 Instead of going forward, push the needle back through the same space you went through before.
🐧 All the ends should touch in a back stitch, creating a line.
Long & Short Stitch
This stitch is created by using straight stitches in close proximity to each other in an uneven pattern. Watch the video below to see how they create a textured filling.
Satin Stitch
In this tutorial I'll be showing you how to create an easy Satin Stitch that is guaranteed to look amazing every time!
🐧 Bring your needle up through the top left corner of your piece.
🐧 Push the needle down directly below making a straight stitch.
🐧 To keep the stitches looking even, break the pattern up with a couple of straight stitches.
🐧 Fill in the gaps with the straight stitches.
French Knot
French Knots get a bad rap for being a difficult stitch. But they're actually quite easy to do if you know the tricks! Below you'll find our video for creating French Knots that are perfect every time. Just remember one thing: keep the tension in your non-dominant hand! And with some practice I know you'll nail it.
🐧 Push the threaded needle up through the centre of where you want the knot to be.
🐧 Hold the needle horizontally in your hand.
🐧 Using your non dominant hand, wrap the thread around the needle two times.
🐧 Keep the tension so that you can move the needle, but that it’s not loose and falling off.
🐧 Push the needle back down close to where you brought the needle up, holding the tension on the thread.
🐧 Tug the needle through the fabric, and pull gently, keeping the tension.
🐧 As the loop gets smaller, let go, and and pull to secure the knot.
Backing Your Hoops
There are multiple ways to back your hoop to display your finished embroidery. In this video, we'll go through three different ways, and pick which one works best for you.

Backing Your Hoops