


NEW
Community Platform
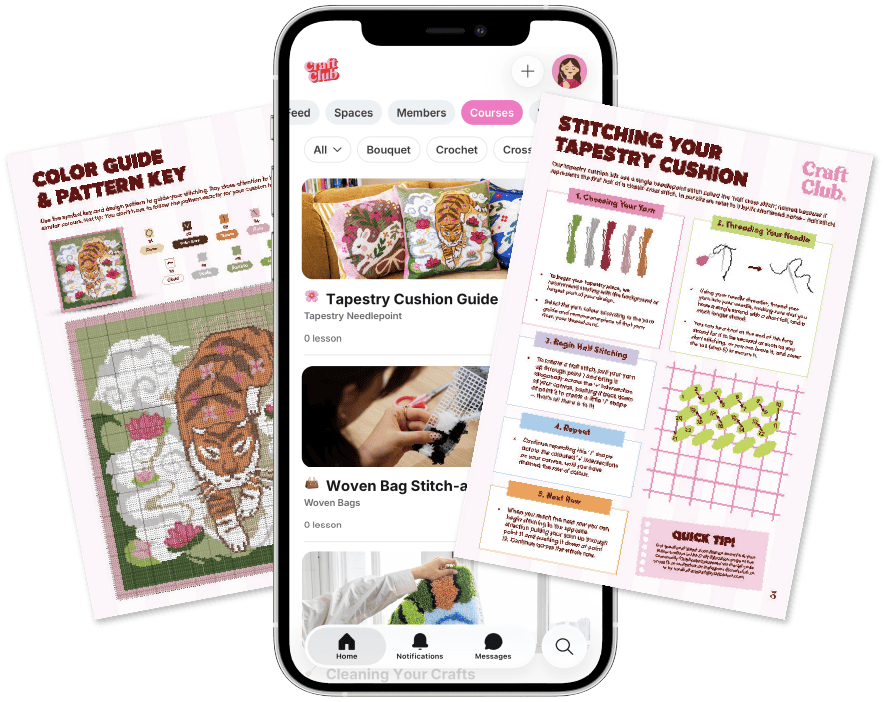
Your kit includes free access to our Community Clubhouse platform. Available as an app or website - access new drops, downloads, and a buzzing community of makers!
What's Inside The Clubhouse


✨ Thank you for picking up one of our Chunky Crochet Kits! ✨
We started Craft Club to help everyone find their inner creative, and we’re so excited you’re here. 💛
Our kits are designed to be the easiest (and most fun!) way to learn – but if you ever need a hand, we’re always just a message away at hello@craftclubco.com or over on our socials.
We hope you love making your project as much as we loved creating it for you. Happy crafting! 🧶🌸

How To Use This Guide
Depending on your Crochet Experience
💗 Crochet Newbie: If you're new to this craft, we recommend you go through this guide from top to bottom. Start off with our two practice videos: Foundational Stitches and Amigurumi Techniques. These two videos will teach you everything you need to know about the basics, ensuring that you have a great time when you start working on your crochet kit.
💗 Comfy Crocheter: If you've crocheted before and you're comfortable with the most common stitches (ch, sc, hdc, dc, magic rings) then you're probably ready to dive straight into the project. You can skip the intro videos and go straight to the meat of the guide.
💗 Crochet Pro: If you're an absolute pro and then you probably don't need our guide at all! If you want to save time, you can download the PDF pattern below and get straight into your project.
Access Pattern
Crochet Terminology
In these patterns we've used US terms! They're the most widely used and make the most sense for beginners.
- ch: Chain
- sl st: Slip Stitch
- sc: Single Crochet
- hdc: Half-Double Crochet
- dc: Double Crochet
- mc: Magic Circle
- BLO: Back Loops Only
- FLO: Front Loops Only
- (): Anything inside is to be repeated
- * *: To be stitched into the same stitch
- INC: Increase
- DEC: Decrease
Foundation Technique Videos

Basic Crochet Stitches

Basic Amigurumi Techniques
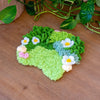
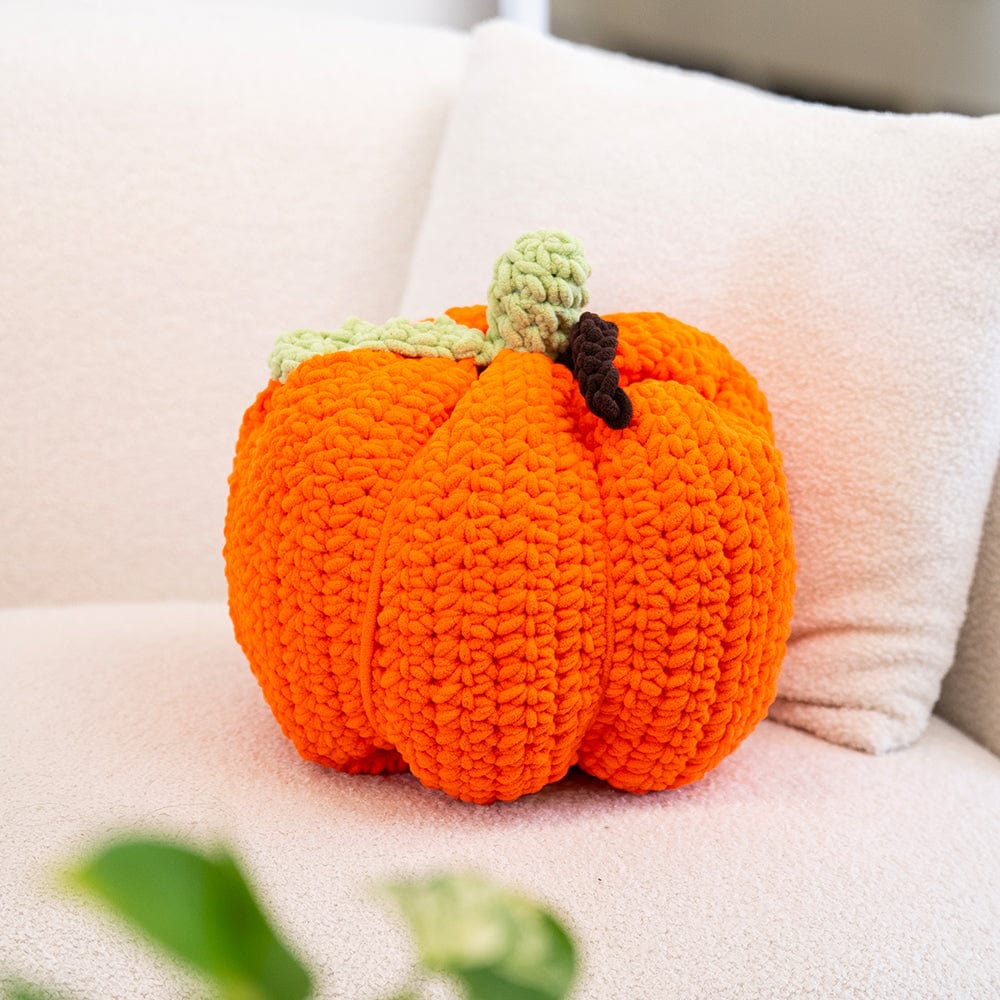
CHUNKY CROCHET - PUMPKIN Guide
Below you'll find each of the steps to making your Chunky Pumpkin. We recommend downloading the PDF pattern so that you can read it alongside watching the video guides.
Step-by-step video guides
1. Pumpkin Base
To start your pumpkin, you'll be stitching the base using our premium orange chenille yarn and your crochet hook. It's very repetitive and therapeutic, don't stress yourself out with counting this to be super detailed, because we scrunch this up at the end and hide all imperfections! Follow the video tutorial below to start :
2. Pumpkin stem & leaf
Next you'll be stitching the stem and leaf that will go on top of your base. You can add a couple more leaves here if you feel like it, remember that organic shapes are not supposed to look perfect, it's that handmade touch!
3. Optional Tendrils
Lastly, you can add a fun spiral tendril just to add a bit more personality! sewing this next to your leaf will bring it to life- but this is completely optional, meaning you can even make it longer than what we have in this video
4. Assembly and finishing
Sewing all your pieces together, stuffing your tail ends into our stuffing and making sure the shape is to your liking, you've just finished your chunky masterpiece! give yourself a pat in the back, we can't wait to see your creations!
Join The Club!
Be the first to know about new products, special releases, and much more!
