Bunnies By the Stream
Welcome to the guide for your BUNNIES BY THE STREAM Moss Coaster Kit!
Below you will find all the information you need to create your own adorable landscape to display on your desk or coffee table. Complete with three fluffy friends and carrots to boot!
🥕🐰✨
Inside Your Kit
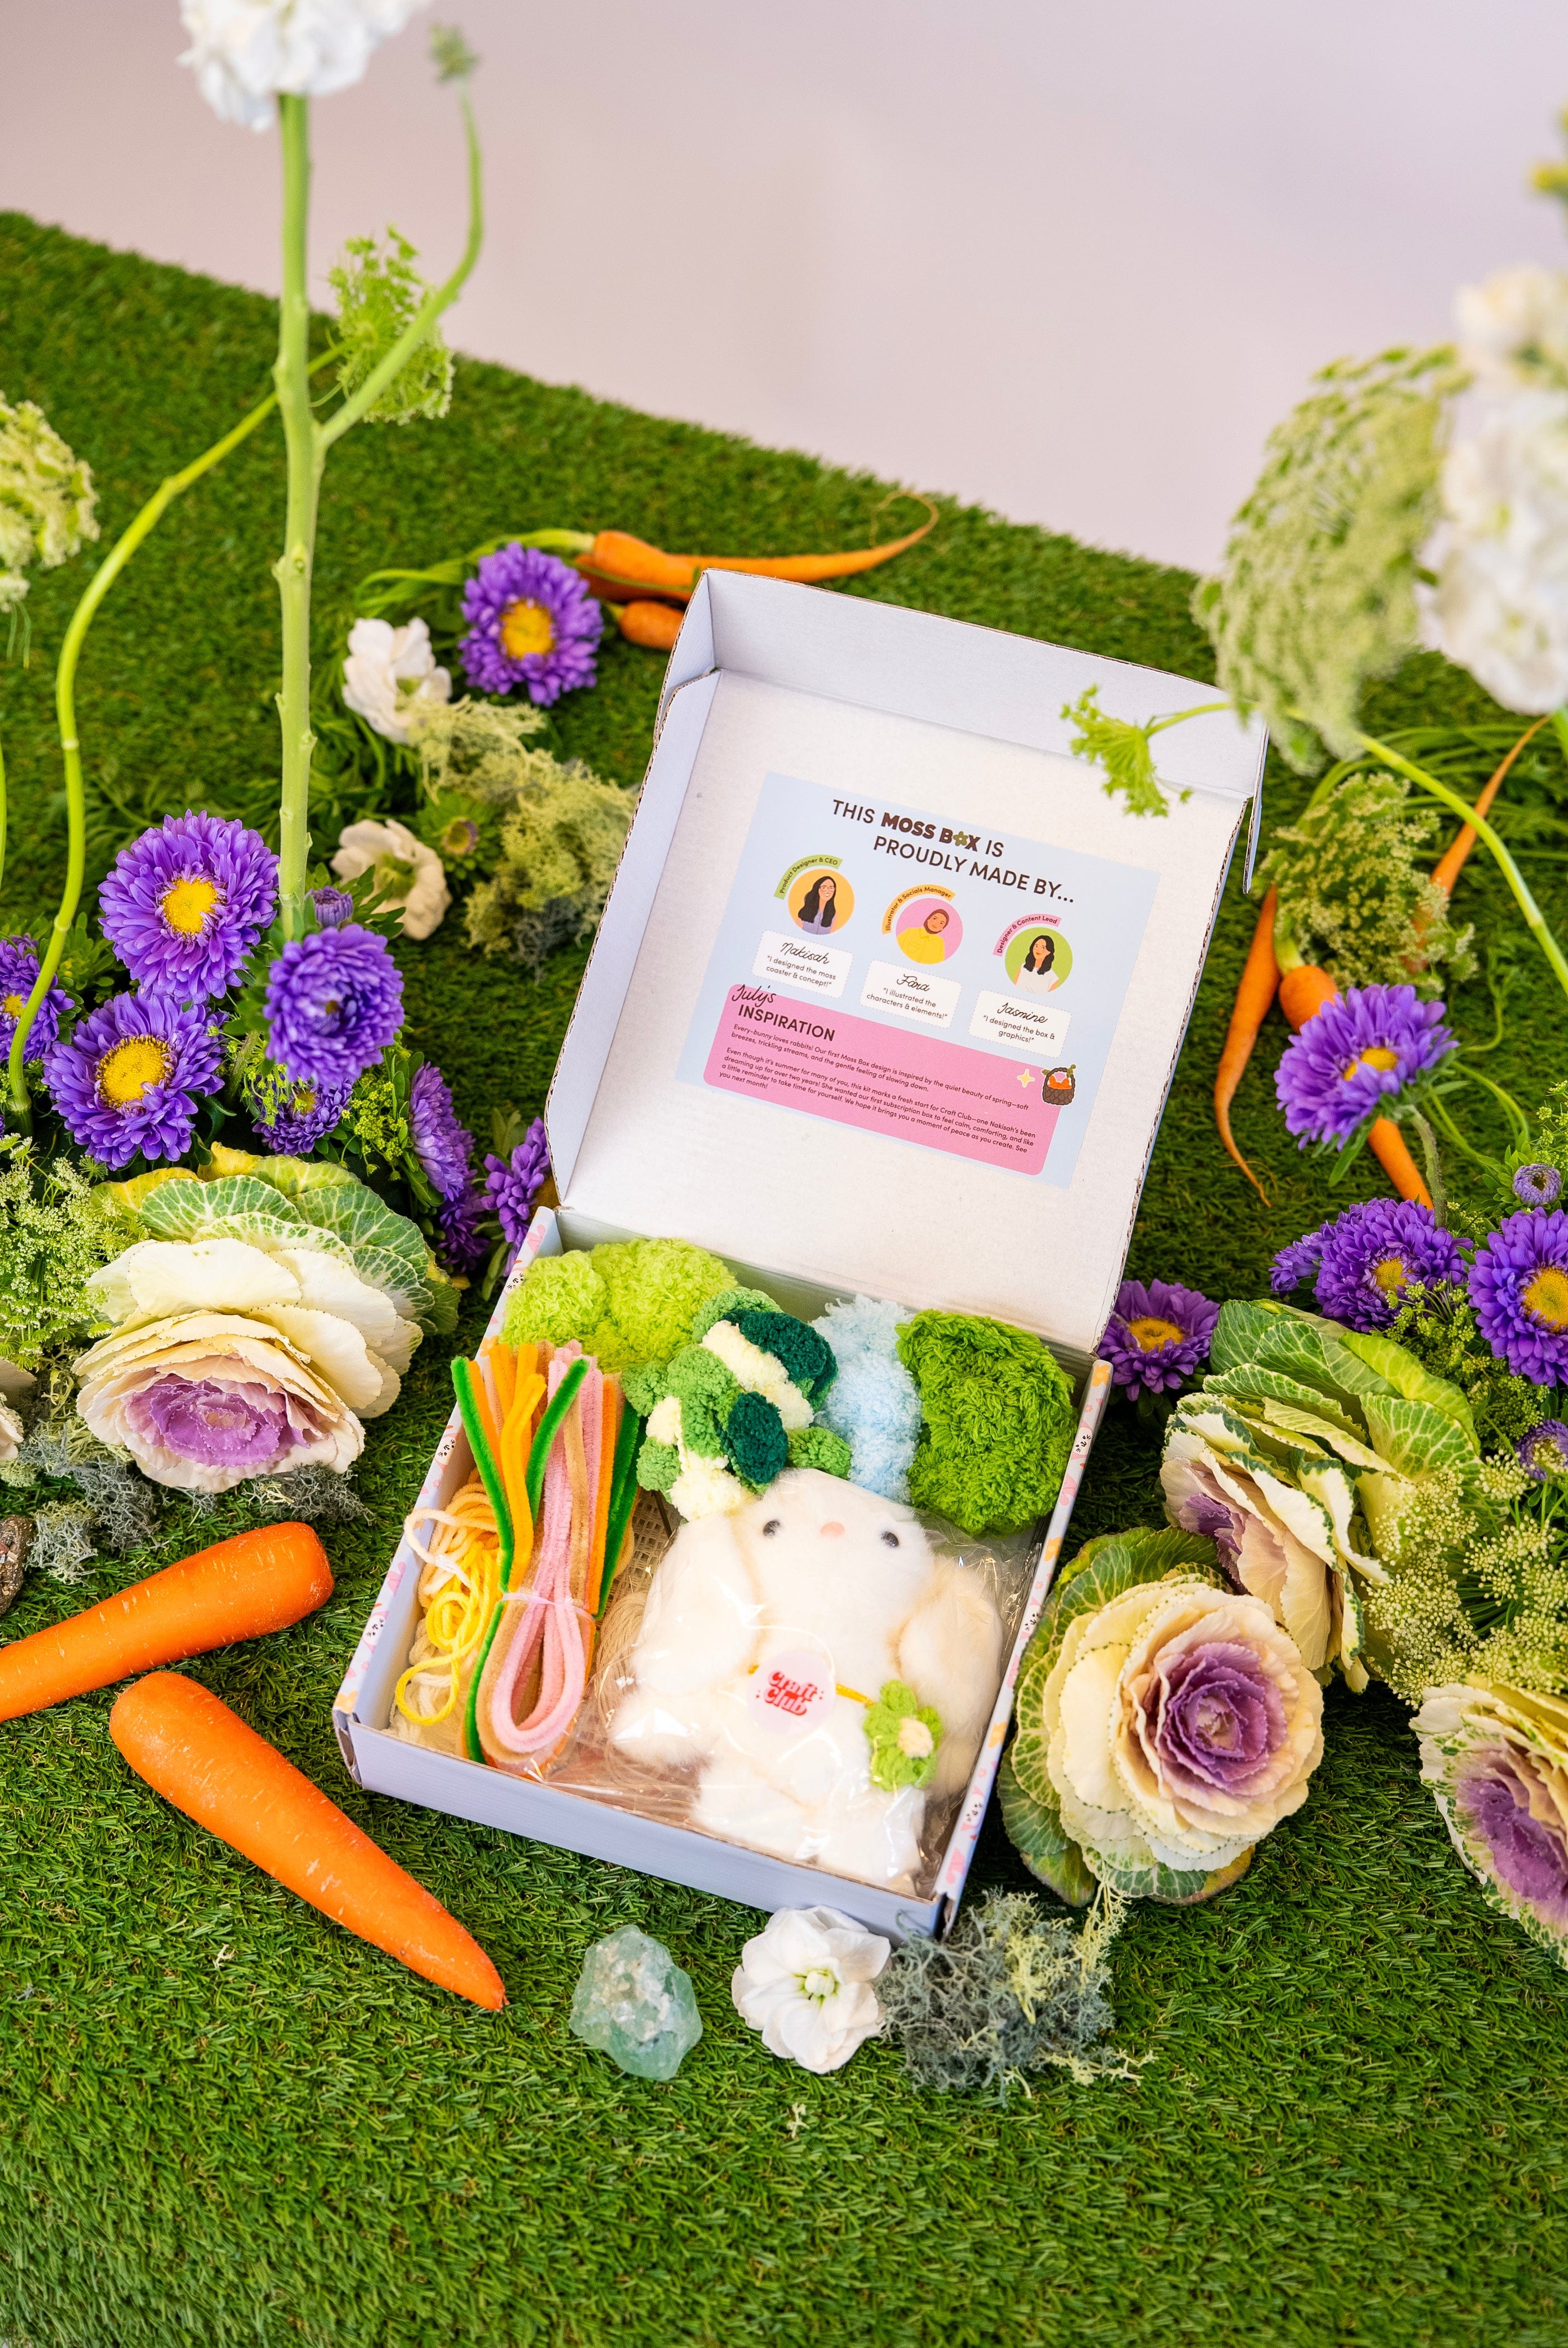
You'll find everything you need to craft your own adorable bunny oasis!
Yarn & Base Materials
⭐ Bobble Yarn in Green
⭐ Feather Yarn in Grass Green, Light Green and Light Blue
⭐ Milk Yarn in White, Butter Yellow and Light Orange
⭐ Pipe Cleaners in Cream, Brown, Pink, Green and Orange
⭐ Pressed Felt in white
⭐ Latch-Hooking Canvas Base
Crafty Tools
⭐ Plastic Latch Hook
⭐ Glue Stick for Hot Glue Gun
⭐ Needle & Needle Threader
⭐ Cotton Thread
⭐ Plastic Weaving Needle
⭐ Plastic Eyes for bunnies
What You'll Need
✂️ Craft Scissors - Any size will work, but we recommend our ergonomic moss scissors.
⭐ Hot Glue Gun - Available at many DIY retailers, you don't need a fancy glue gun to have a big impact on your craft. Any heat setting will work.
Inside Your Kit
Bunnies By The Stream - Guide
Step-By-Step Guides
Below you'll find each of the steps to making your coaster, with recommendations on the order to stitch each element. If you're a newbie to crafting it will be worth following this step-by-step, so that you can get comfortable with the techniques and tools used in this kit.
If you want to create your own variations, you can stitch each section in whichever order you want. So don't feel constrained by our guidelines.

Step 1: Bobbles (using green bobble yarn)
Step 2: Feather Yarn Grass (using grass green feather yarn)
Step 3: Feather Yarn Grass (using light green feather yarn)
Step 4: Feather Yarn Grass (using light blue feather yarn)
Step 5: Embroidered Flower Details (using white milk yarn)
Step 6: Adding Pom Poms (using butter yellow and light orange milk yarn)
When your mossy coaster is complete, you'll be adding the final decorative detail ...
Final Touch: Pipe Cleaner Bunnies & Carrots (using range of pipe cleaners)
You can also use the image below to see the details of each element on your coaster.

First Things First - Transferring your Stencil
Your first step in creating your moss coaster is to transfer your coaster design from the stencil onto your latch-hooking canvas. To do this you'll need your canvas and a marker of some kind. We recommend using a sharpie or similar permanent marker, but a regular pen or drawing marker will work just fine.
Simply lay the canvas on top of your stencil and use the marker to trace the design behind it. The stencil matches our design with the smaller shapes roughly indicating where we will stitch each type of 'moss' in the following steps.
Feel free to get creative with the shape of your design, as your coaster doesn't have to be exactly like the stencil. You could make it a little larger or smaller depending on how you'd like to use it. Just remember to leave a 1/2 inch space between your coaster shape and the edge of the canvas.
TIP: Why not move the smaller shapes around within your coaster? You can get creative with the layout.
Step-By-Step Instructions
This guide will walk you through each step of your moss coaster, and include video tutorials for each technique you will need to learn. If you're already familiar with the techniques used for moss kits, you may just want to watch our walkthrough video (shown above) without needing to dive deeply into each step.
1. Weaving Bobbles
To start your coaster, you'll be stitching the textured Bobbles at the top of your coaster using your green bobble yarn and your latch-hook tool. Follow the video tutorial below to learn the technique.
2. Weaving your Feather Yarn Grass
Now it's time to weave in the 'grass' on your mossy coaster. You'll be doing this in multiple layers using different shades of your feather yarn.
Your first section is going to use your grass green yarn and you will be filling in the top section of 'grass' right below your green bobbles.
Follow the below video tutorial to learn how to weave your grass section. Its a very simple technique, using your weaving needle you'll be stitching back and forth to cover the canvas section.
3. Continue your Feather Yarn Grass
For the third section of your moss coaster, repeat this grassy technique to cover the coaster with your lighter green feather yarn. You will be filling in the section just below your grass green yarn, as well as the section at the bottom of your coaster. Only the space for your blue stream should be remaining.
Use the video tutorial in step 2. to fill in this section.
4. Continue your Feather Yarn Grass
Finally, use the same technique again to fill in the last area on your coaster. Use your light blue feather yarn to complete your mini stream.
Use the video tutorial in step 2. if you need a refresh on the technique.
5. Embroidered Flower Details
Now that your coaster is completely covered, its time to move on to the decorative elements of your design! This is where things can get crafty and creative.
The first decorative element you will be adding is your Embroidered Details. You'll be using your white milk yarn for this section.
You'll be stitching 3x large flowers in your white milk yarn, using the technique shown in our tutorial below. I've made my flowers using five 'petals' but you can make yours larger or smaller, add extra petals or reduce your petal numbers. You can really make it your own!
6. Pom Poms
The second decorative technique you'll be using on your coaster is some fluffy and vibrant Pom Poms. For these you will be using your light orange and butter yellow milk yarn.
Use the following tutorial to learn to make pom poms. In this coaster, we've made 3x small sized pom poms made with strands of both yarn colours and approximately 12x loops around. These pom poms are then trimmed and fluffed up.
We've placed two pom poms clearly next to the bobbles from step 1 (you can see these illustrated earlier on this page) and then we've also popped a sneaky pom pop hidden amongst the bobbles to add some extra dimension and detail.
For your pom poms, why not experiment with multiple colours of your milk yarn? Or mix it up by adding a looped pom pom? There really is so much that you can create with pom poms - allowing yourself to give your coaster its own unique personality.
7. Pipe Cleaner Bunnies
Now that your coaster is complete, its time for the cherry on top - or should I say the bunny! You're going to be using your pipe cleaners to craft three adorable bunnies, as well as some matching carrots that they can munch by the stream.
To create your bunnies, you will be using multiple pipe cleaner colours, your black eyes and a hot glue gun. Scissors will also come in handy for cleaning up the glue on your bunnies eyes.
Each bunny will use 3x pipe cleaners each. We've included 4x of each colour so that you have some extras to work with in case you need some practice. Each carrot will use around half of a green and orange pipe cleaner, so you'll be able to make more than three of those.
Use the video below to craft your pipe cleaner decorative elements!
Backing your Coaster
Congratulations on finishing the main part of your coaster! Now you're onto the home stretch, its time to work on the back of your coaster.
There are 2x steps to finishing your coaster, which we show in the below tutorial. First you'll need to roughly trim the canvas edging and sew it down to the back of your piece.
Then it's time to back your coaster with your felt either with glue or by sewing it. If you're using it as a decor piece or to hang on the wall, it may be better for you to leave it at it's current stage. It will be easier to hang on a wall hook if the back is free from felt.
Sewing your Backing
Our kit includes all of the supplies you need to sew the backing of your coaster.
To sew your fabric you'll want to trace the shape of your coaster so that you can cut out the felt fabric to match the shape. You can do this with a pencil or pen.
You will then need to pin your felt backing to your coaster so you can begin sewing the edges. You can do this by using sewing pins, bulldog clips or even tacking the back with a hot-glue gun. I find bulldog clips the easiest method of holding my coaster to the felt.
Using 3-strands of your cotton thread, begin stitching your canvas to your mossy coaster using a whip stitch. This just means that you will whip your thread around and around the edge of your coaster as you go around. Don't worry if your stitches don't look perfectly neat, they'll blend into the grass on your coaster and won't be visible when you're finished.
Gluing your Backing
If you have any fabric glue handy or a hot glue gun then you can also glue the backing of your coaster. We've included a glue stick for a standard craft hot glue gun, as well as a glue paddle if you have fabric glue.
To glue your fabric you'll simply place fabric glue across the middle of your felt square and place your coaster on top. Allow it to dry so that the coaster is secure - you may want to put a heavy book on top of your coaster to add pressure. Once it's dry you can take a sharp pair of scissors to cut around the coaster.
You can then top up the glue on the edges, if any sections are lifting up.
