


Introduction
Want to try cross stitching but you’re not sure where to start? There’s no need to jump straight to it because a little preparation goes a long way. Our step-by-step guide to cross stitching for beginners will help you get started. Continue reading to find out more!
💡 Did you know
Our cross stitch kits come with follow-along video tutorials and detailed written instructions! Whether you're a visual or a reading/writing learner, our kits are designed to help you learn cross stitching confidently.
Step 1: Gather Your Cross Stitch Materials
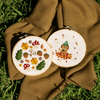
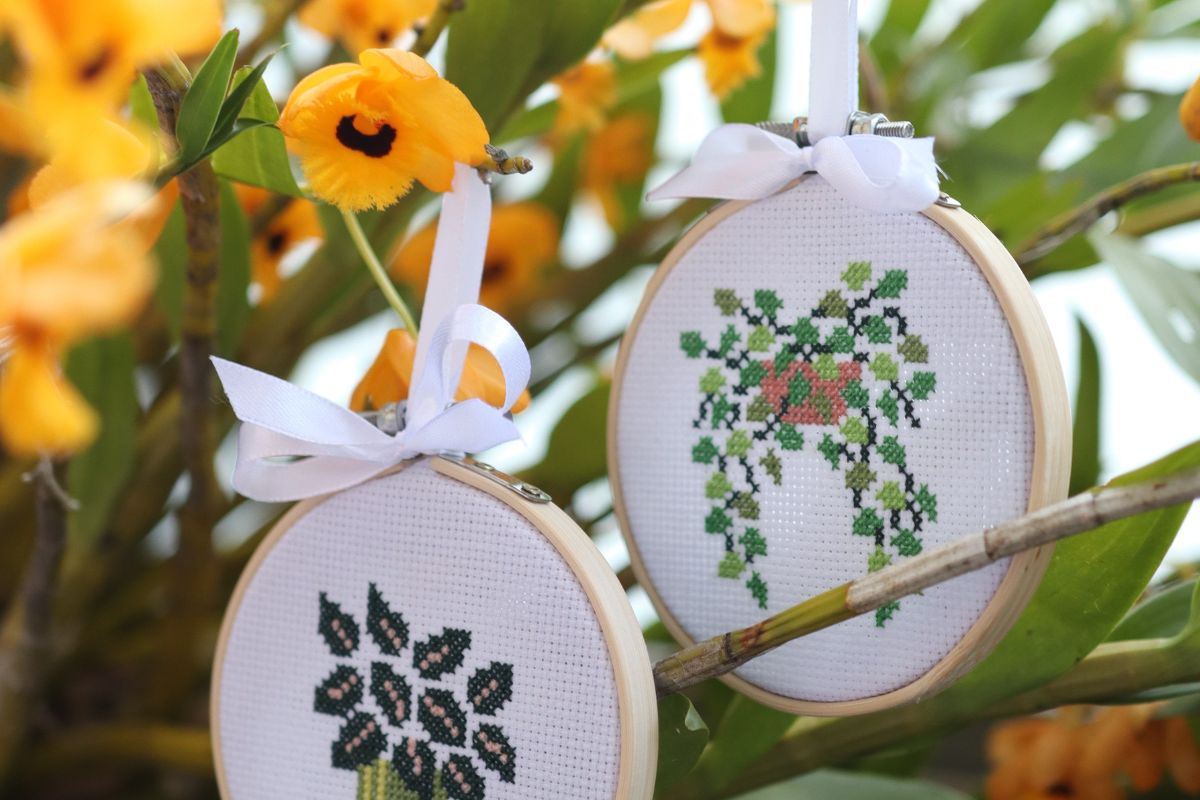
The best way to learn as a beginner is to use a simple cross stitch kit. Our cross stitch kits include Aida, coloured thread, a bamboo hoop, a needle, and detailed instructions, which is everything you need at the beginning to learn how to cross-stitch.
Step 2: Finding the Fabric Center
Aida is the most common fabric to cross stitch on, but you can use other fabrics as well. The first thing you should do is find the center point of the fabric by folding it in half one way and folding it half the other way. Then either crease the center point, place a pin, or make a small stitch to mark it.
🌟 Pro Tip:
You can also measure up the middle if you’ve already put the Aida in the hoop. Take a ruler and measure down to the halfway point of the hoop. Then, mark it with a needle. Don’t forget to measure across horizontally to ensure it’s completely centered!
Step 3: Threading Your Needle
Cross stitching needle has a big eye, making it easier to use for beginners. The next step is to thread your needle. The process is pretty much similar to how you would thread your regular sewing needle.
Although there are many ways to thread your needle, we suggest you take two strands of cross-stitch thread and make it into a loop. Then you take the loop and make it as small as possible so that it goes through the needle eye smoothly. Finalize by putting the needle through the loop to avoid it from falling off (or you can make a knot by yourself). Either way, your needle is now ready to stitch!
Alternative:
In cross stitching, you don’t have to use knots! Instead, you can stitch with the thread partly pulled through the needle. This creates slack on one end, so it won’t be pulled away from your thread when you're stitching the needle.

Step 4: Start Your First Row
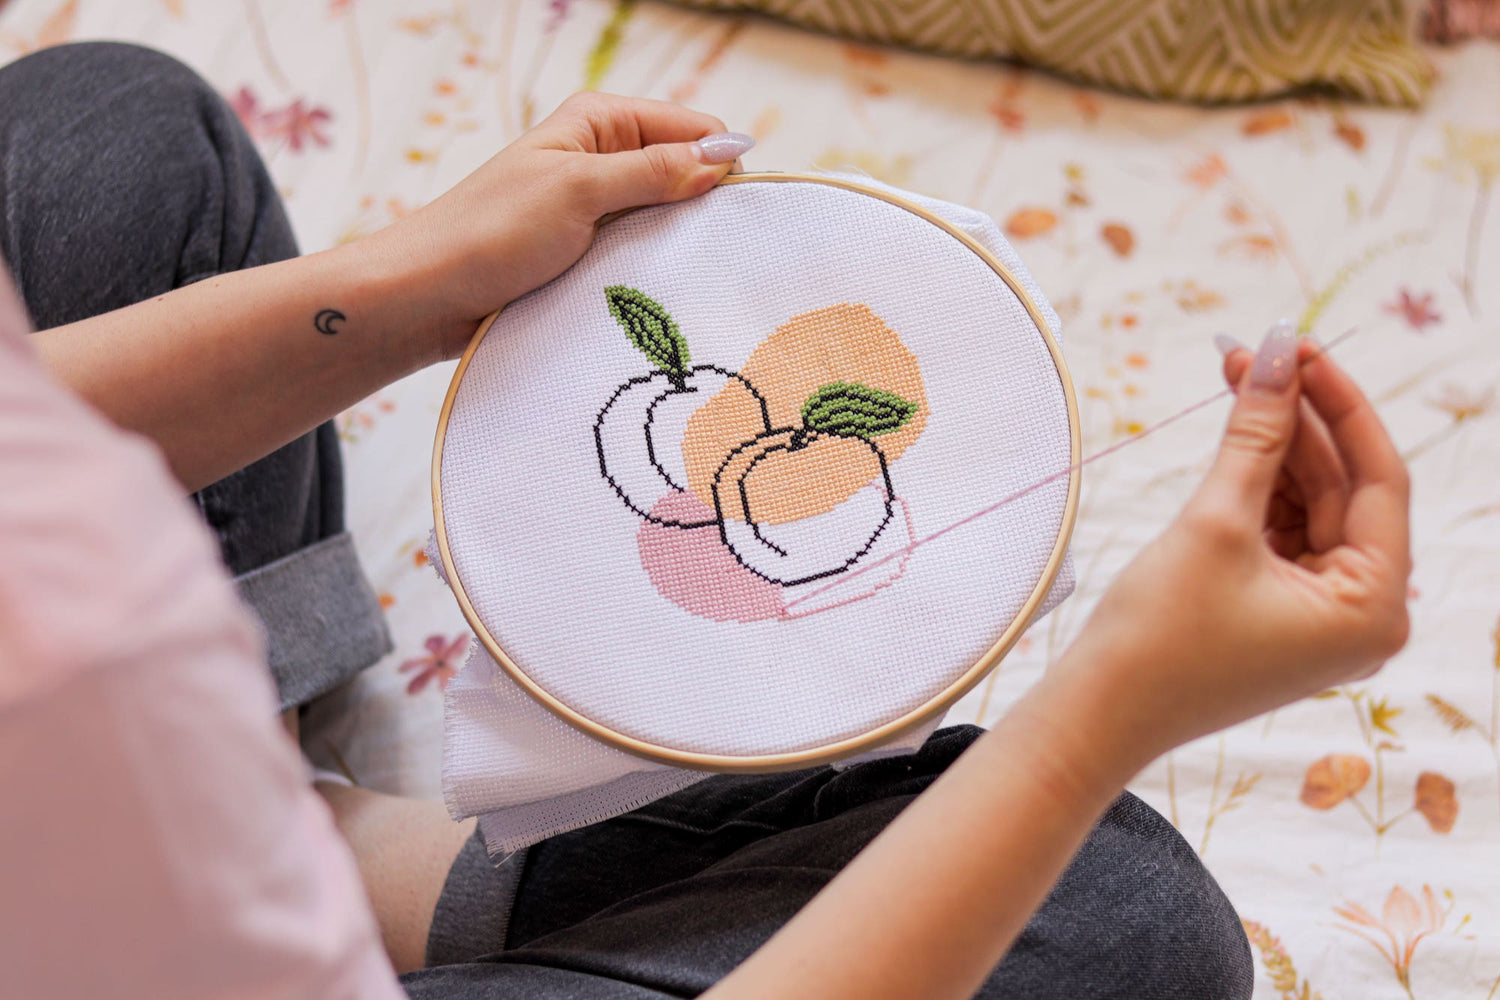
Refer to your cross stitch kit pattern to figure out where you should start stitching. In general, it should be done in rows going from bottom left to top right. Put your needle through the center point starting from the back of the fabric. Leave a little bit of thread at the back and hold it with your finger to secure it as you go on with your stitches. Continue passing your needle through holes diagonally across from where you started to make a half cross stitch.

Step 5: Completing Your Stitches
To finish the stitches, you should go back to make a full cross stitch (X). The process is the same as in the previous step. You stitch along the row but in the opposite direction, from bottom right to top left making a series of full cross (X) stitches. Keep stitching until you come to the end of your thread, and then start again!
After you make two or three basic stitches, trust us, you’ll get more comfortable with cross-stitching. Remember, practice makes perfect! Until then, don’t stress too much because cross-stitching is supposed to be a relaxing and fun activity to do when you want to take your mind off everyday problems.


Leave a comment
This site is protected by hCaptcha and the hCaptcha Privacy Policy and Terms of Service apply.