















NEW
Community Platform
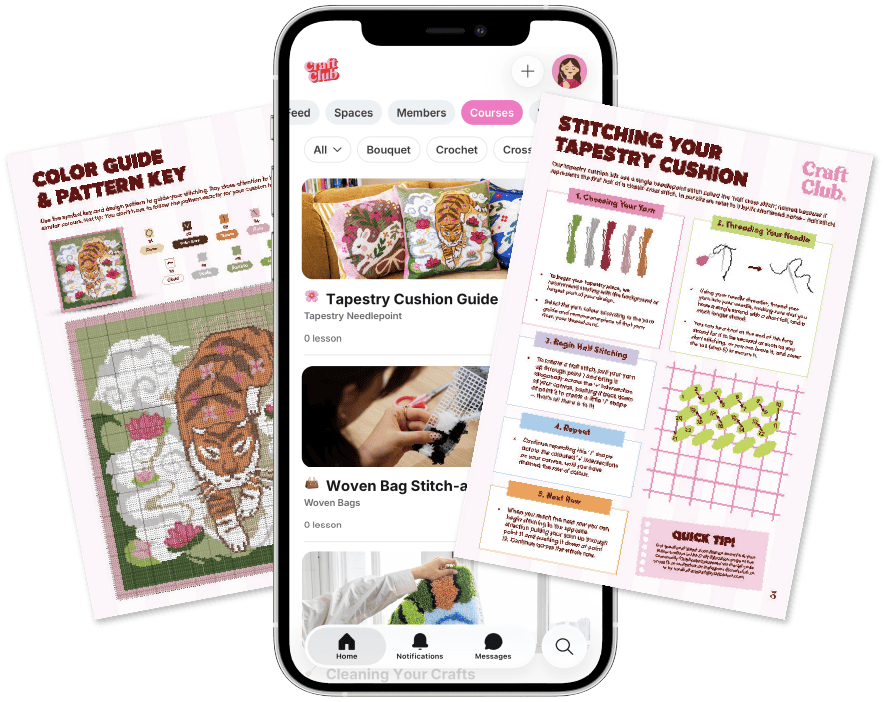
Your kit includes free access to our Community Clubhouse platform. Available as an app or website - access upgraded tutorials, and a buzzing community of makers!
What's Inside The Clubhouse




Pingu™ Printed Cross Stitch Guide
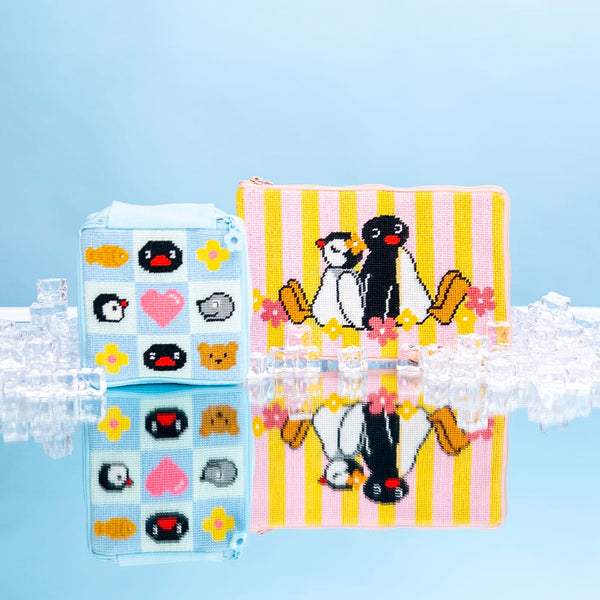
Noot noot! Pingu™ has come all the way from Antarctica to join you in these cheeky cross stitches!

What's inside your kit
Inside your printed cross stitch kit is everything you need to get started.
- Printed Aida cloth
- Bamboo hoops
- Needles & threader
- Full skeins of all colour thread
- Printed paper instruction & pattern
Preparing your hoop
Before we can get to stitching, we need to secure our Aida cloth into the bamboo hoop.
- Separate the hoop pieces by loosening the screw at the top.
- Lay the inside hoop flat and place your fabric over it, centring the design as much as you can.
- Place the outside hoop on top and push down to secure the fabric between them.
- Tighten the screw and tug the edges of the fabric to keep it taut.
Threading your needle
The final thing to do before we get stitching is threading our needle. We typically use 2 strands of thread for cross stitch.
- Push the needle threader through the eye of the needle.
- Slide the thread through the eye of the threader, and pull it back through the eye of the needle.
Reading your pattern
Now, it's time for the good stuff. Learn how to read the pattern and get stitching!
Finishing your thread or section
Running out of thread? Finished the section? Look at you go!! Let's secure that thread.
- On the back of your cloth, slide the needle through your previous stitches to secure, then cut the tail.
Fractional stitches - half and quarter stitch
Fractional stitches are stitches that take up less space than a full cross stitch. The ones we'll be learning for our printed cross stitch pattern are half stitch, and quarter stitch.
- Half stitch: create a single diagonal line across the Aida square.
- Quarter stitch: create a single stitch that reaches from one corner of the Aida square, to the middle of the square.
We combine these two stitches to give a more natural looking curve to the designs.
How to back stitch
Back stitching is simply stitching a straight stitch on top of your design to create depth and texture to the piece.
How to create a French knot
A French knot can be one of the most daunting stitches to try, but don't worry! With practice, it becomes second nature, and we won't leave you hanging.
- Bring your needle up through the centre of the stitch space where you want the knot to sit.
- Once the thread is pulled all the way through, hold your needle horizontally.
- Wrap the thread around the needle 2-3 times. The more you wrap, the larger the knot will be.
- Use your non-dominant hand to keep the tension.
- Push the needle back through the fabric, and pull until the knot is flush on top of the fabric.
- Tie your thread off by either tucking it through previous stitches, or tying the tail in a knot.