





Tapestry Needlepoint Cushion Guide
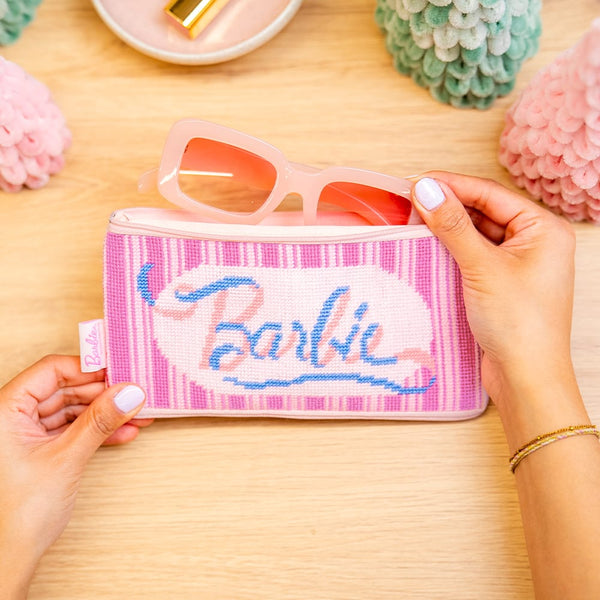
Welcome to the guide for your Barbie™ tapestry cushion kit. We're so excited to have you here!
This guide will take you through the process of stitching your tapestry cushion - from understanding your pattern, threading your needle and creating your half stitches.
These kits are incredibly beginner-friendly, relaxing to work on and result in an adorable, functional cushion that you can use and love in your home! 💖

Introduction

Inside Our Tapestry Cushion Kits

Reading & Understanding the Pattern
The Stitch
Our Tapestry Needlepoint Cushions kits utilise just a single stitch - the half stitch!
Half stitch is one of the easiest stitches to learn. It comes from the term 'half cross stitch', meaning that its simply the first half of a classical cross stitch. Not only is this stitch simple, but it allows you to create lots of beautiful detail in your piece.
Lets dive into stitching! 🪡

Where to Start
There's no right or wrong place to start, but if you're new to tapestry or needlecraft, we recommend starting in the centre of the cushion so that it is comfortable for your hands to stitch.
Begin with a larger section of colour, rather than a smaller detail. This will make it easier get used to the stitches, and try out the 'vertical' and 'horizontal' stitch methods.
From threading your needle, to finishing you yarn, we've got you covered.
Scroll down to see each detailed video tutorial.
Getting Started
Follow along as we get aquainted with threading our needle, the half stitch technique, and where to start.
Continue Stitching
Now we've mastered the basics, let's go deeper into different ways to stitch your StitchReady™ Cushion Kit!
Tips & Tricks
From preparing your space, to helpful ways to hold and stitch your canvas, the below video will increase your arsenal of stitching hacks.

Tips & Tricks