








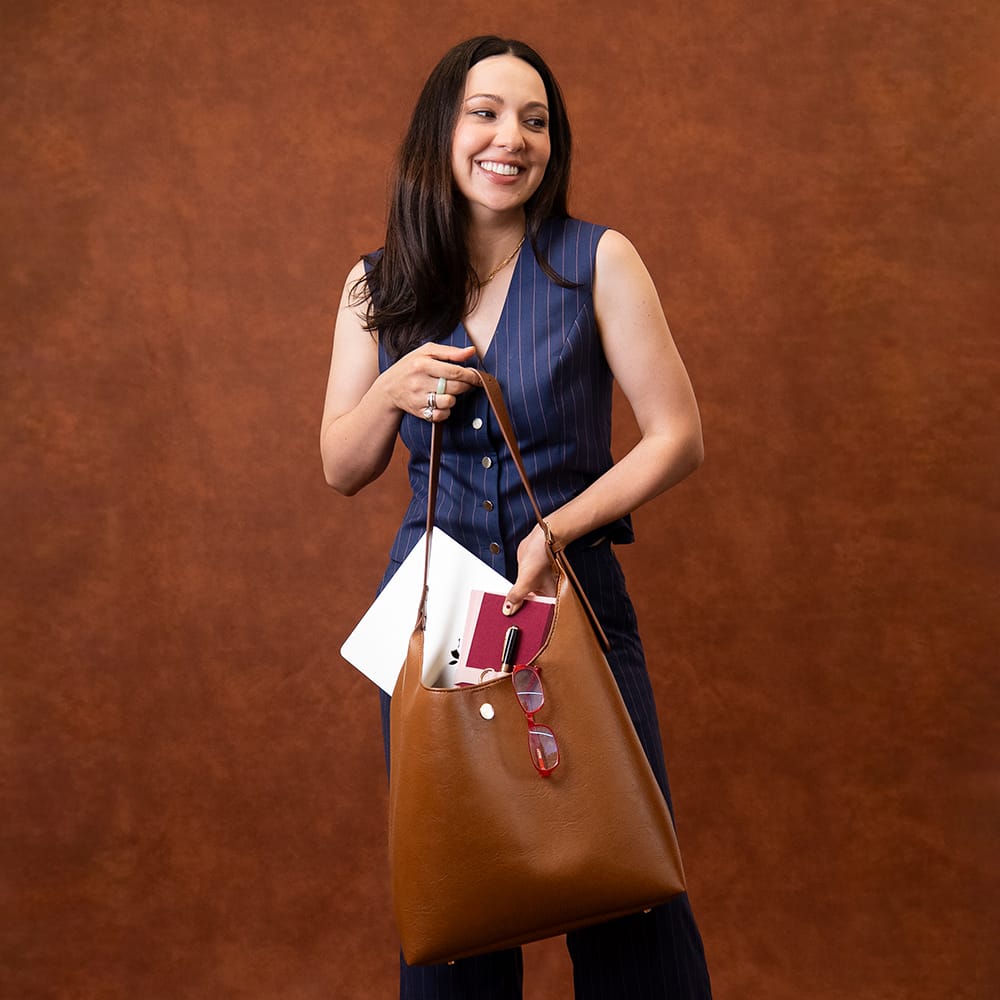
Sydney Tote Bag Guide
Welcome to the guide for your Sydney Tote Bag Kit. We're so excited to have you here!
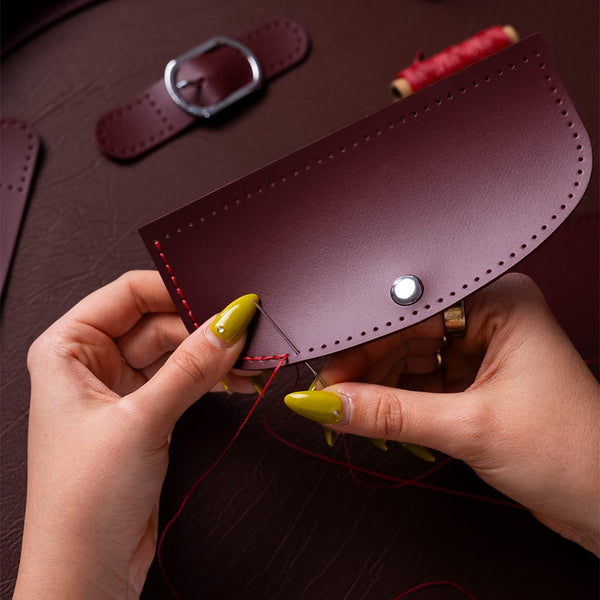
This guide will take you through the process of making your bag from beginning to end - from getting familiar with your kits contents, learning saddle stitch and finally, assembling your bag.
No leatherworking experience needed. Every piece comes pre-cut and pre-punched, so all that's left is the satisfying part: stitching it together by hand. 👜
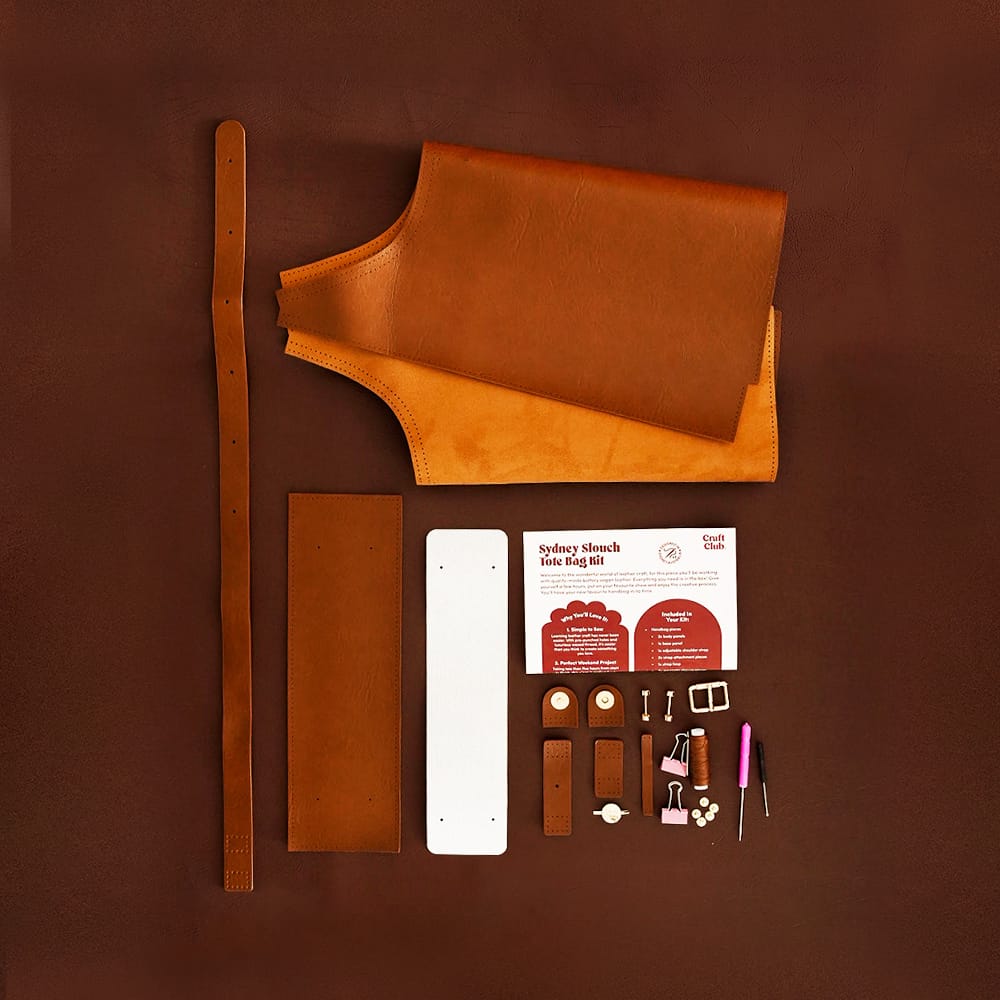
👜 Your Bag Kit Includes:
🤎 Pre-cut PU leather bag pieces
🤎 Pre-sewn shoulder strap piece
🤎 Reinforced base piece
🤎 Metal buckle
🤎 Metal bag feet
🤎 Bulldog clips x2
🤎 Waxed thread spool
🤎 Sewing needles x4
🤎 Tailors Awl
🤎 Mini Screwdriver
🤎 Craft Club nameplate
Watch the below video for a deep dive into your kit contents.
What's Inside Your Sydney Bag Kit
🧵 Getting Started
Now you know what's inside your kit - it's time to get started! In this section we'll be teaching you the foundational skills behind your handbag kit. We'll be going through how to thread your needles and how to saddle stitch confidently.

Threading Your Needle
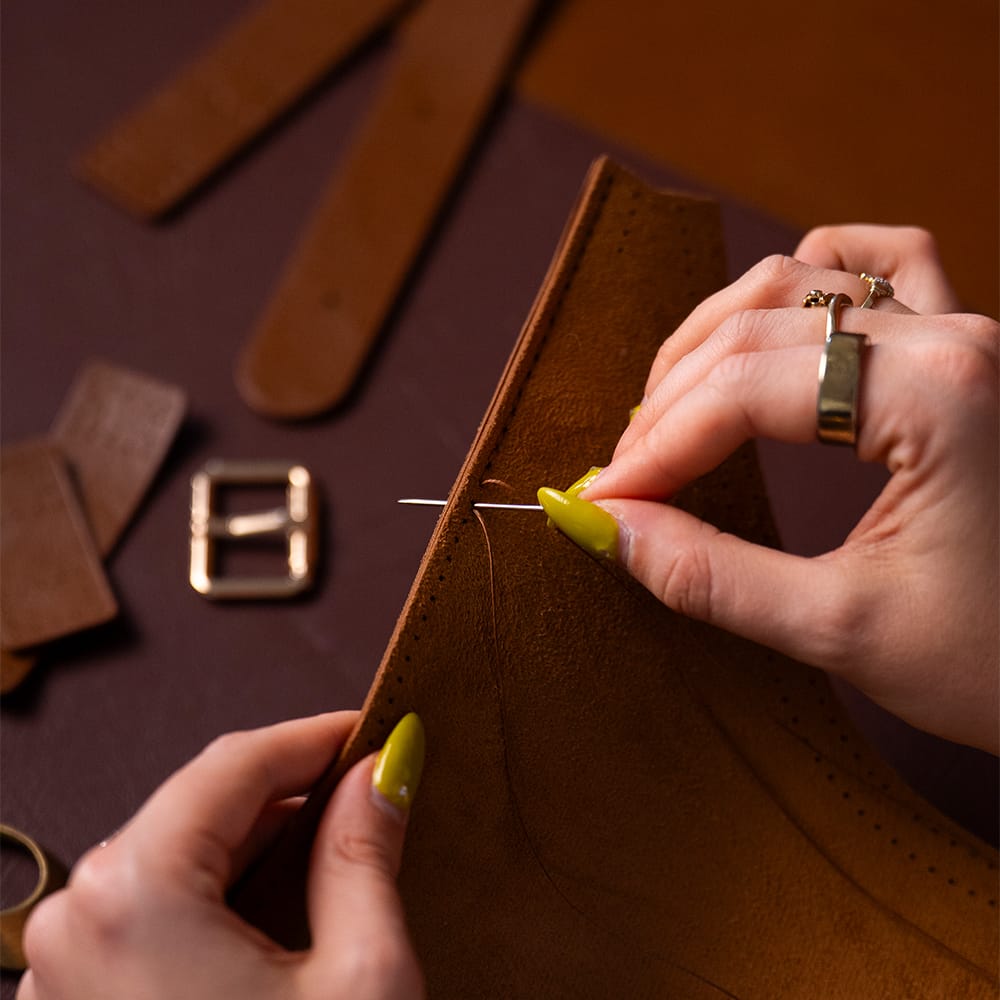
How to Saddle Stitch
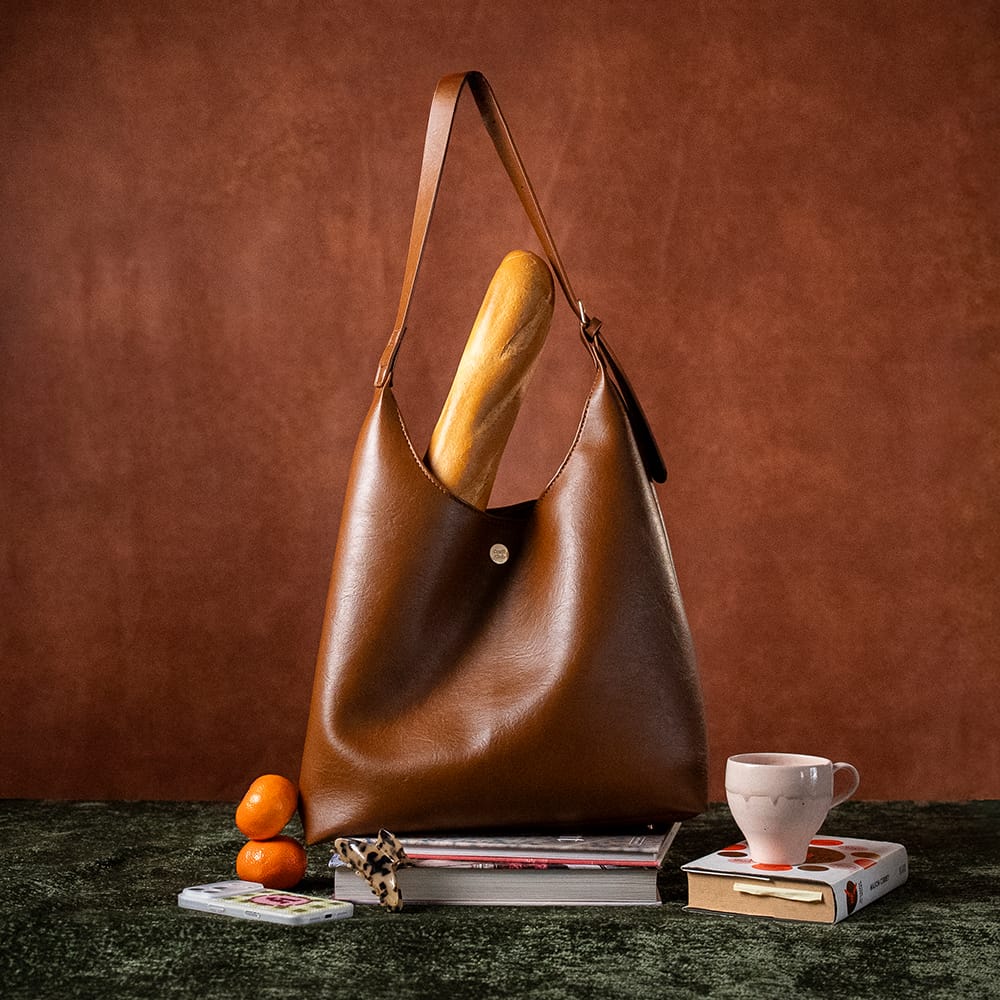
🪡 Assembling Your Sydney Tote Bag
Now you've nailed the technique, its time for the best part - assembling your bag!
In the below videos we'll be taking you step-by-step through each element of your bag kit.
We'll begin with the easiest stitching, then level up your skills by stitching longer lengths and more layers when you reach your straps. Take it slow and steady, and make sure to watch the videos in full if you get stuck along the way.

Part 1 - Turned Edge
🧰 Quick Tips!
Before you continue sewing your bag, here's a few tips & tricks to help you along your way.
📎 Use your bulldog clips to keep your pieces lined up while you sew. It's normal to move these frequently as you stitch and move the placement of you leather pieces.
🧵 Pull each stitch snug, but not too tight, so your seams stay neat without puckering.
⏳ Take your time! Most makers finish their bag in around 4 hours, so feel free to spread it over a few sessions. Remember crafting is all about enjoying the journey!
⚡ If taking it slow is not for you, remember you can try the speedy stitching method which is shown in the video tutorial below.
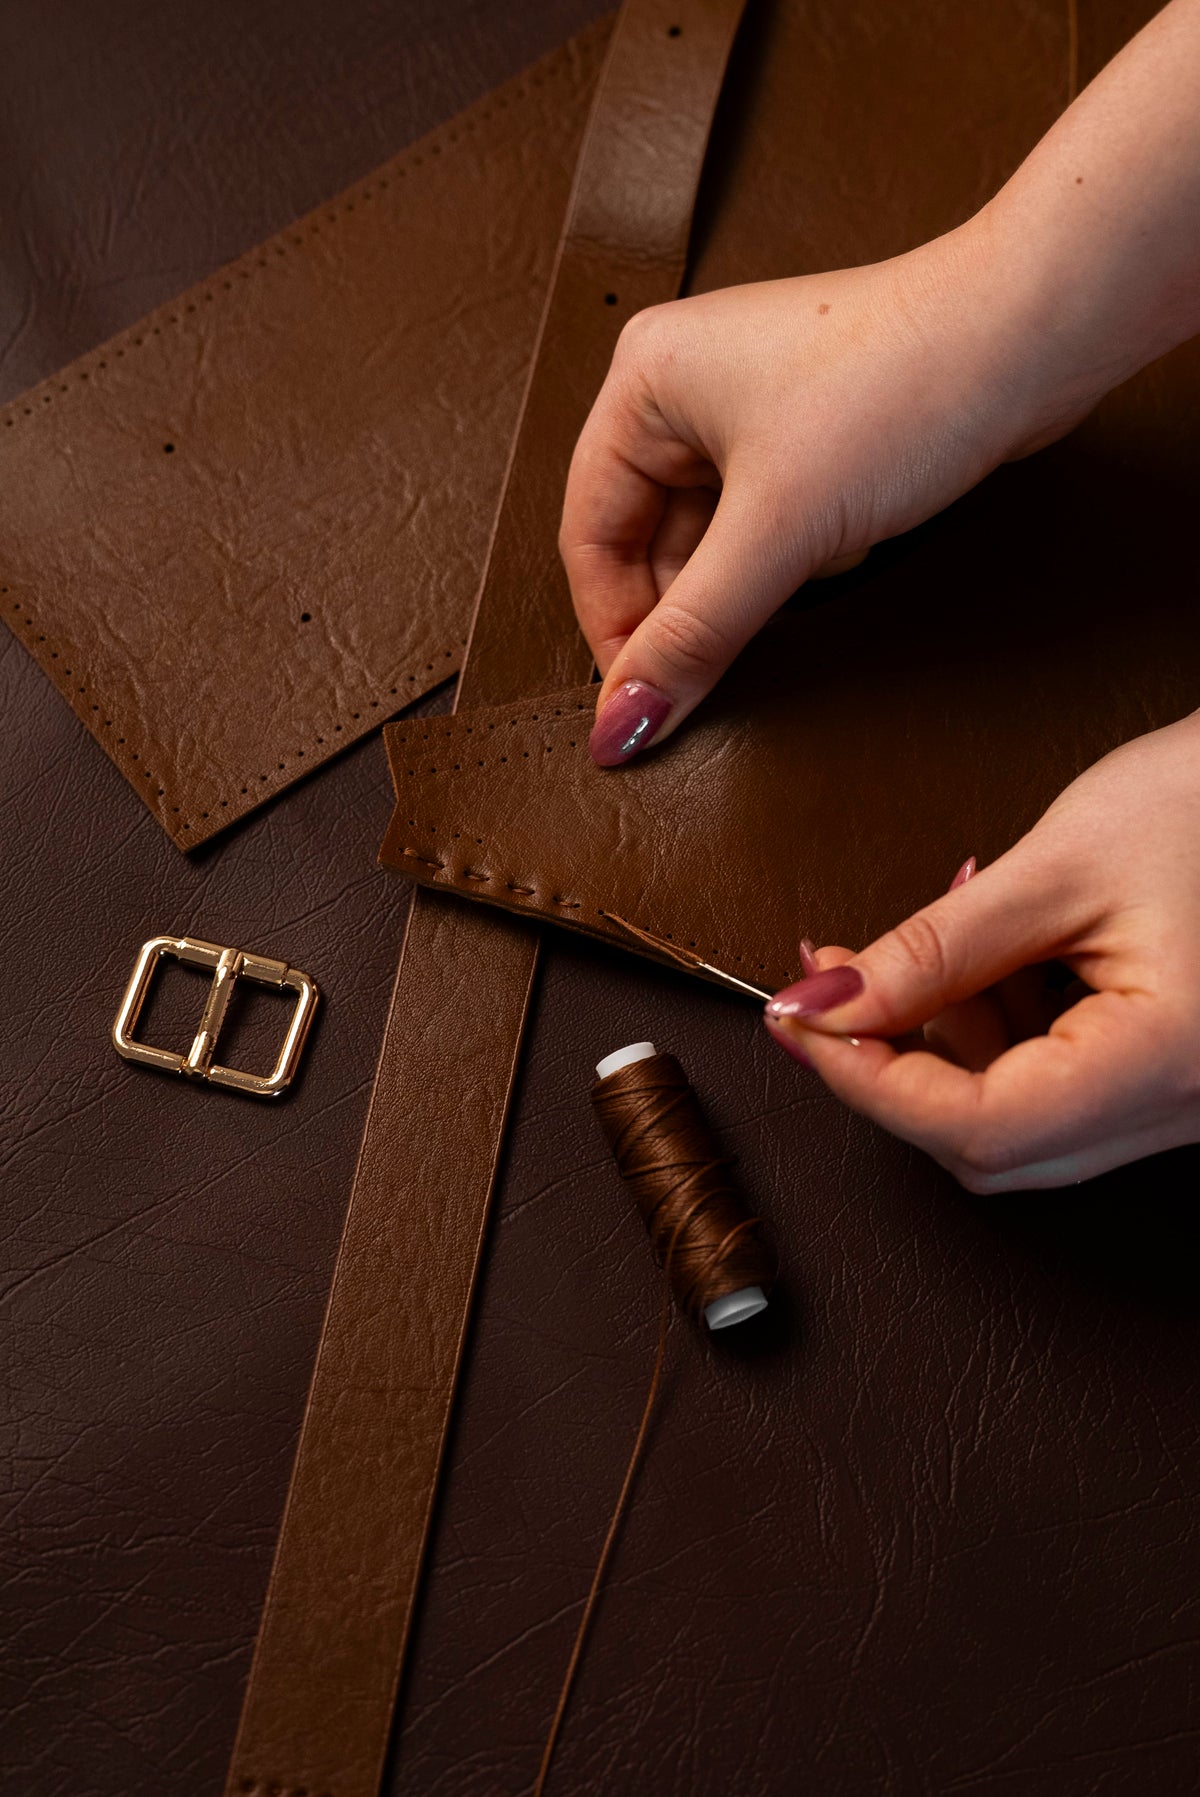
Tip: Speedy Stitching
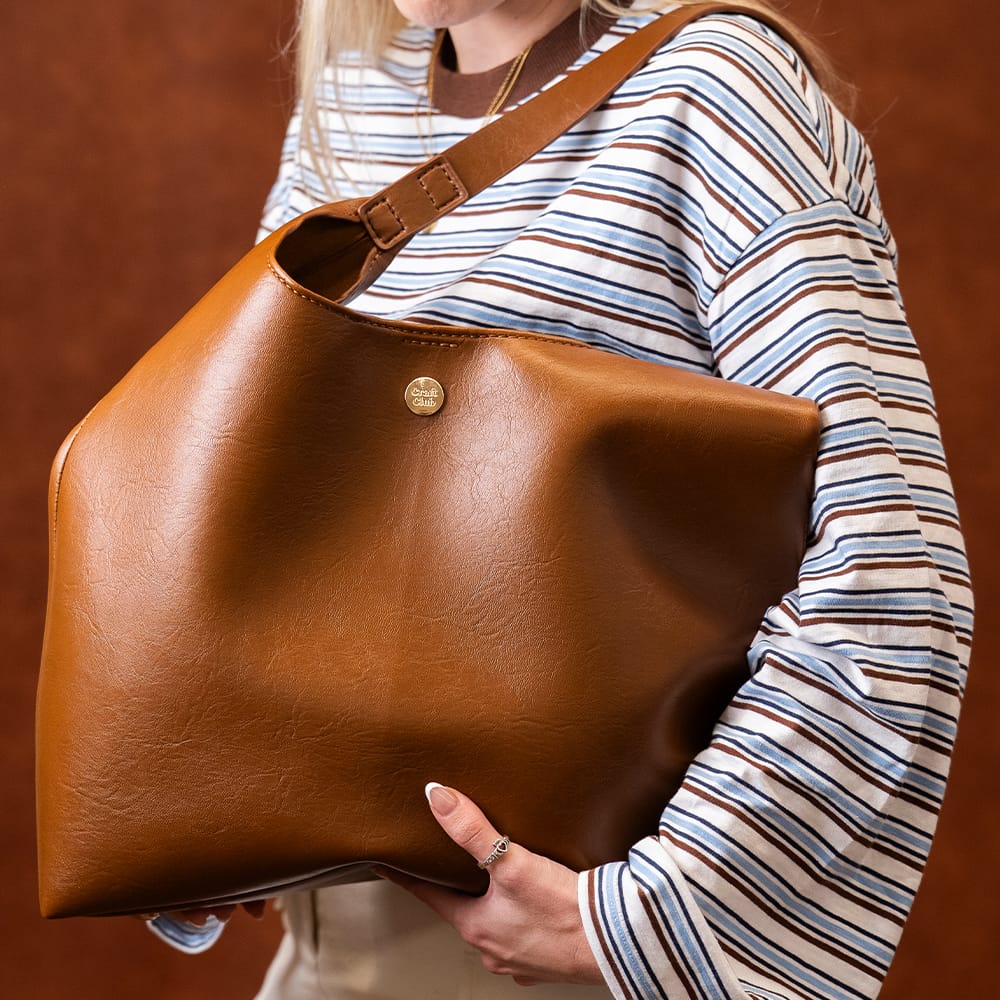
Part 2 - Side Panels
Part 3 - Base Panel (Smaller Side)
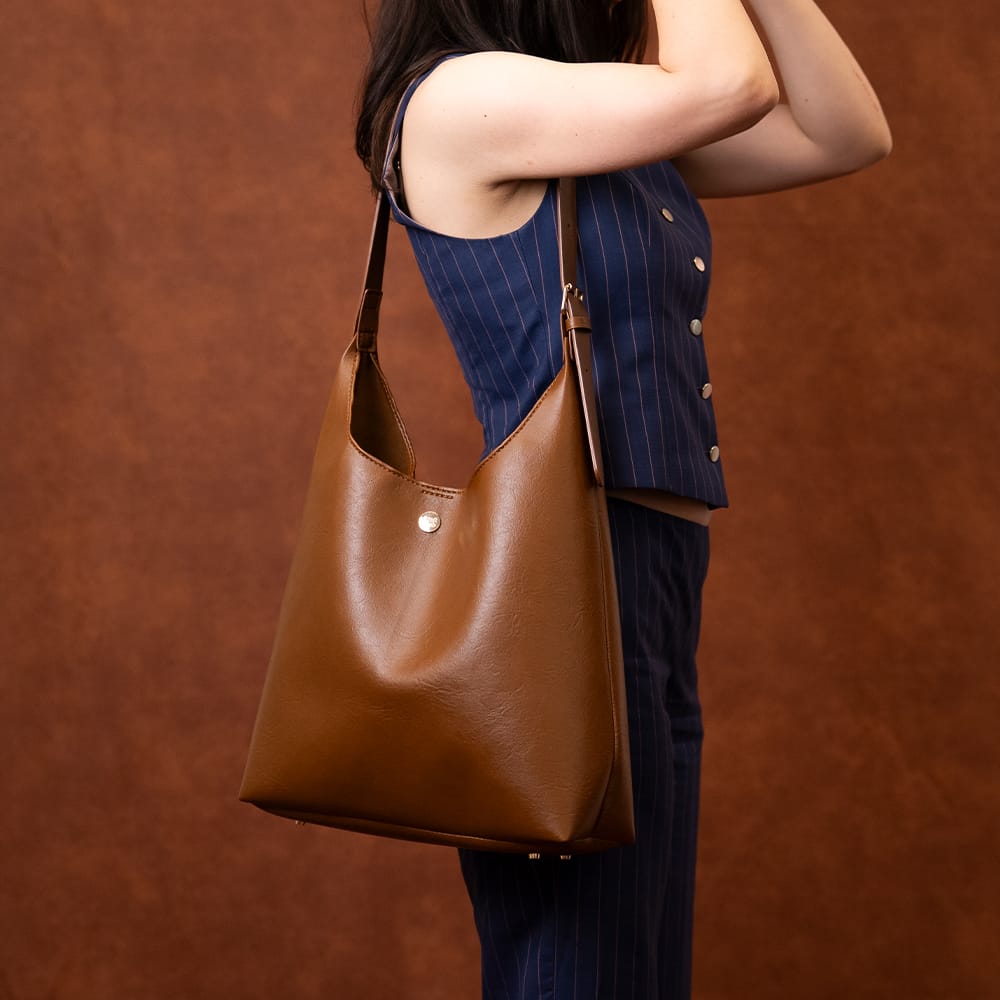
Part 4 - Base Panel (Longer Side)

Part 5 - First Strap
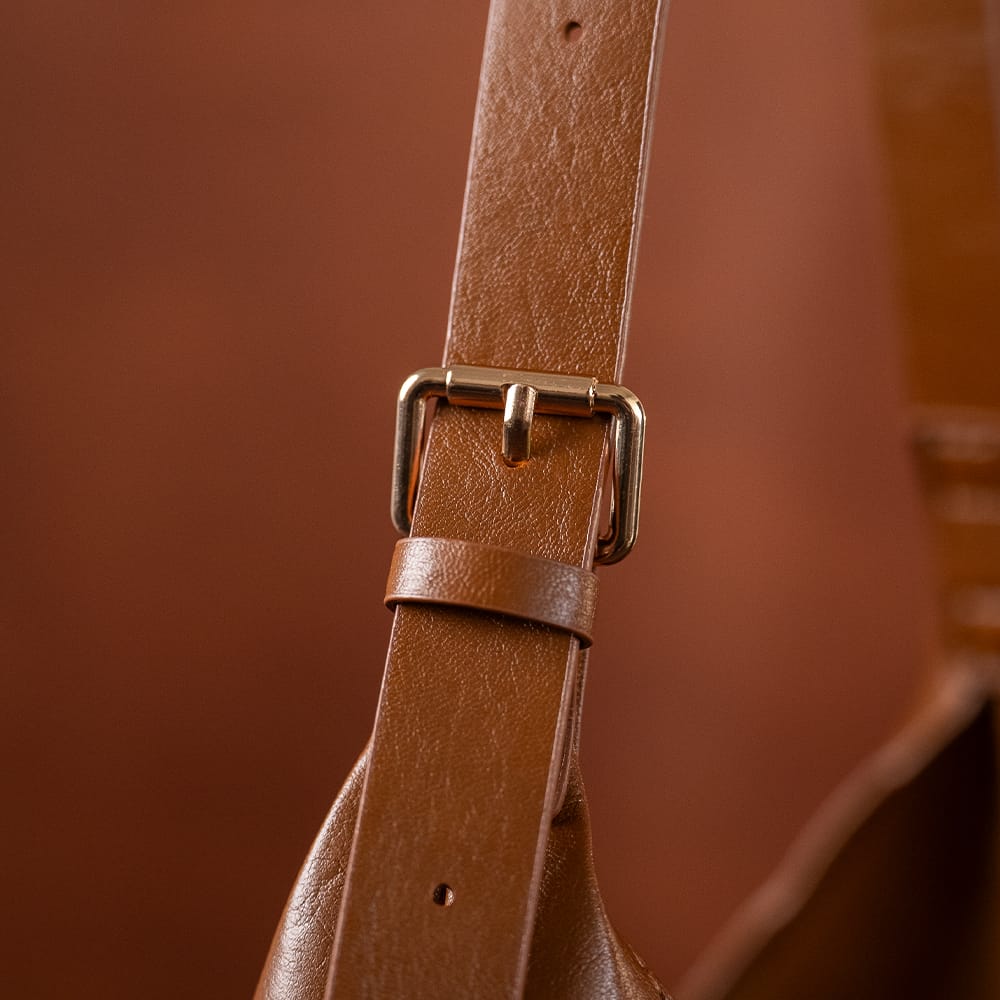
Part 6 - Second Strap
✨ Finishing Touches
Your Sydney bag is almost complete! There's a few final touches you can add to give your bag that extra special finish.

Adding Reinforced Base
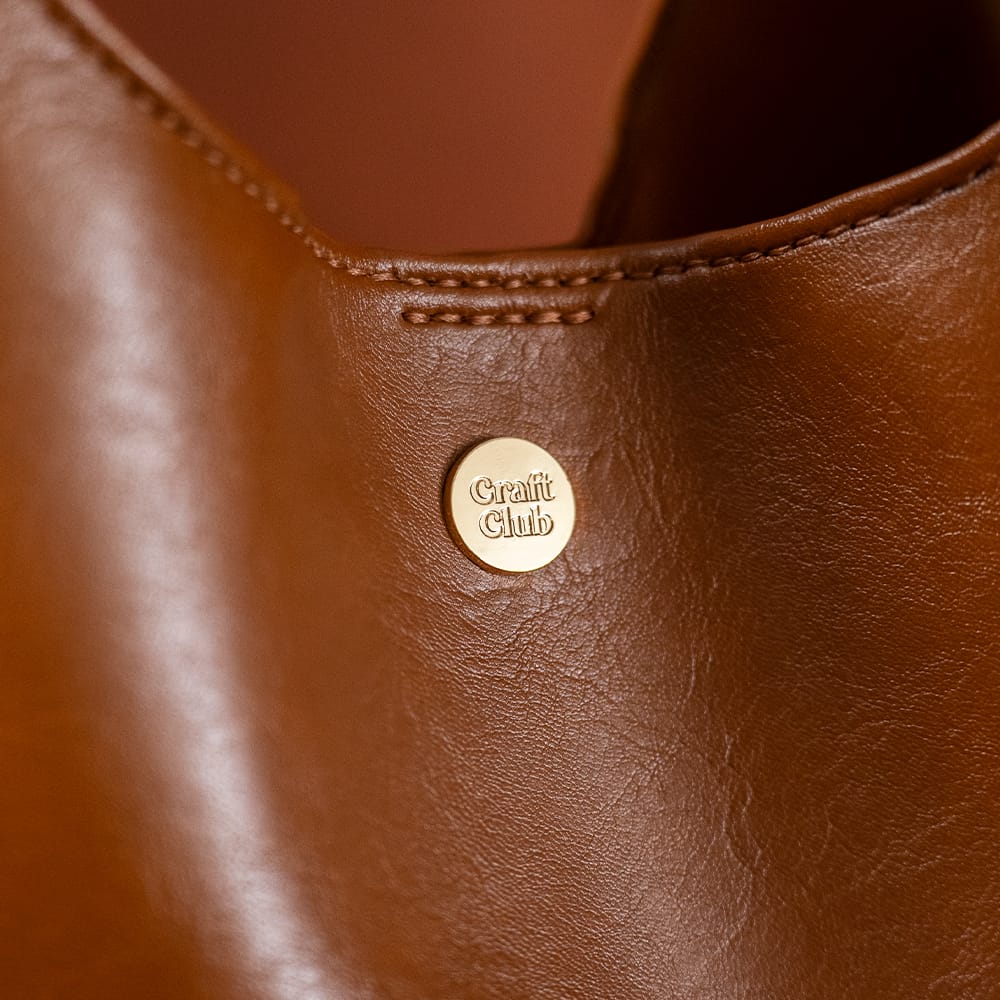
Adding Finishing Touches