






NEW
Community Platform
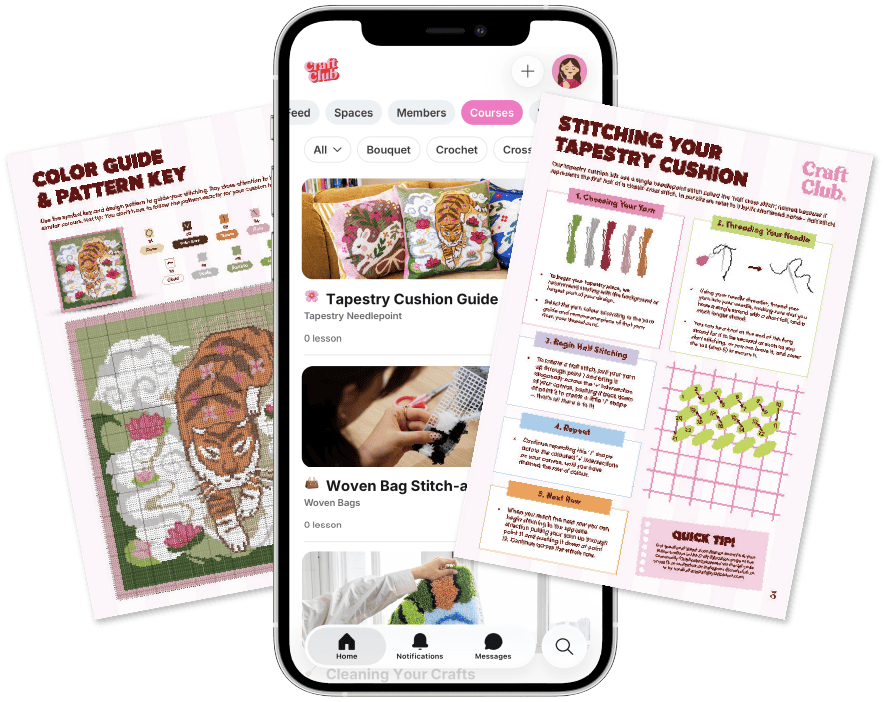
Your kit includes free access to our Community Clubhouse platform. Available as an app or website - access upgraded tutorials, and a buzzing community of makers!
What's Inside The Clubhouse




Pingu™ Half Stitch Guide
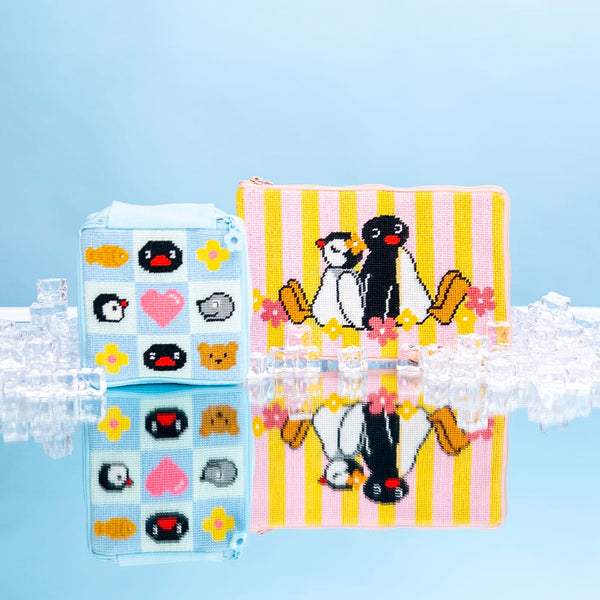
Noot noot! Pingu™ has brought his friends all the way from Antarctica to join you in these gorgeous StitchReady™ Half Stitch Pouches!

1. Getting Started
What's inside your kit
Inside your Pingu™ Half Stitch Kits, you'll find everything you need to get started.
- Pre-printed StitchReady™ Pouch
- Paper instructions & pattern
- Needle & threader
- Pre-cut coloured yarn
Please not that there are no zipper pulls included in the Pingu™ kits. With the flower zipper tag, there's no need for them.
Understanding your pattern
In half stitch, we are covering the canvas intersections rather than the stitch spaces.
- Each square on your paper pattern = a single diagonal half stitch on the ‘+’ of your canvas.
- Don’t count from the edge of your canvas, but from a middle aspect of your pattern.
- If you’re unsure which colour you should use, stitch the most dominant colour, or take a look at the aspect on your pattern and match the stitches of that.
2. Let's Get Stitching
How to half stitch
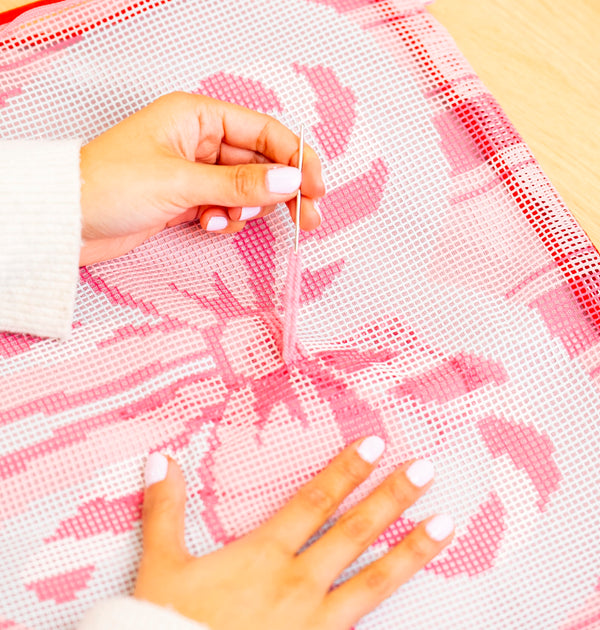
Half stitch is a needlepoint stitch that is simple and works well to create detail. If you’ve done cross stitch, you’ll notice it’s half of a cross stitch. Half stitch consists of a single diagonal line across a ‘+’ on the needlepoint canvas.
- Start with a larger section of your canvas.
- Take your needle and push it up from behind your canvas.
- Bring it diagonally across the intersection to the top right.
- Pull through to the back of the canvas.
- The stitch should be going from bottom left to top right.
Half stitch tips & tricks
Here are some ways you can make half stitching easier for yourself
- Prepare your space.
- Put on some entertainment.
- Begin with the background.
- Take care stitching the edges.
- Learn how to reverse stitches.
- Learn what thread crossing at the back will do.
Speed stitching
We would recommend using this method with larger areas using a single colour. It will probably be easier to stitch details in the individual way.
- Push your needle up through a space.
- Bend your canvas so that there’s a slight point on the row you’re working on.
- Slide your needle underneath the bar of the row. This not only finishes your previous stitch, but starts your next one - all in the one action!
- To finish a row, make sure the needle ends up behind the canvas.
- To start a new row, push the needle up through the next space, and repeat the steps above, noting that you’ll be pushing the needle in the opposite direction that you were before.