






I Don't Like the Inside of My Half Stitch Pouch 😔
|
Time to read 5 min
Country
Language


|
Time to read 5 min
Hey, I'm Alanya - the Community and Education Coordinator at Craft Club, and I'm not only a crafter, but an avid book lover.
I recently finished stitching my Love Letters Half Stitch Pouch with the intention of it carrying my books around. As much as I adored creating this pouch, when I finished half stitching, I knew I wasn't done.
I wanted to give my half stitch pouch a neat backing with two diagonal internal pockets - perfect to store my bookmark, pens, highlighters, and sticky tabs for my reading journeys.
If you want the same thing too, let's get into it.
If you're a sewer, you might have everything you need on hand. If you're not, you might need to go on a quick (ha! there's no such thing) trip to the craft store or find some alternatives around the house.
First things first, we need to measure the size of the half stitch canvas that we're covering.
Find the stitch lines where the canvas was sewn to the zipper and use your measuring tape to find the width (shorter distance) and the height (longer distance).
Use scissors or a fabric cutter to cut the fabric, adding 1cm (or half an inch) to each side for seam allowance.
If you're worried about not cutting in a straight line, create a paper template, pin it to the fabric, and cut along the edges.
With the backing cut, it's time to plan the pockets. Or, skip to the sewing section if you don't want pockets. You can also just do one pocket if you'd prefer.
Use the fabric, or bits of paper, to play around with what you want the pockets to look like.
For me, I knew from the start that I wanted two diagonals crossing over each other.
Again, if you're worried about not cutting in a straight line, create a paper template to use.
Back Pocket - larger of the two. This will be the middle layer of fabric.
Front Pocket - smaller of the two. This will be the frontmost layer of fabric.
To create the diagonal line, cut from the right height measurement to the left.
For those who don't have access to a sewing machine, or want to do something with less fuss, you can cut a piece of starched felt to size and carefully attach it with fabric glue to the back of the canvas. You'll want to use the glue sparingly so that it doesn't leak through and ruin your hard work and gorgeous half stitch!
Craft Club’s StitchReady™ kits come with everything you need to get started, including a pre-printed and pre-sewn pouch, coloured yarn, a needle and threader, and detailed written and video instructions and paper pattern.
Get started with your very own half stitch kit today and join the club!
Choose fabrics that complement (or contrast) the pouch's design.
Measure the canvas size and add 1cm (half an inch) to each side for seam allowance.
Hem the pockets and sew the backing layers together
Hand-sew the backing seams into the pouch seams
Alanya Stuckey
Hey, Alanya here - Craft Club's Community and Education Coordinator. I've been crafting all my life: words, textiles, crafts - you name it. I found Craft Club in the early days (2021) and have been enamoured with the company since. Being a part of it now is a dream come true and I'm so excited to share my love of beginner-friendly craft kits with you!
StitchReady™ is Craft Club's original finish-it-yourself needlepoint kit — the first of its kind to bring stitching and finishing into one beginner-friendly experience.
Built around a pre-assembled construction with a three-sided zipper, each kit lets you stitch the front panel and then close it into a real, finished object with no sewing machine, no finishing service, and no prior experience required. It's needlepoint redesigned to be lived with, not stored away
Learn More About StitchReady™ here!
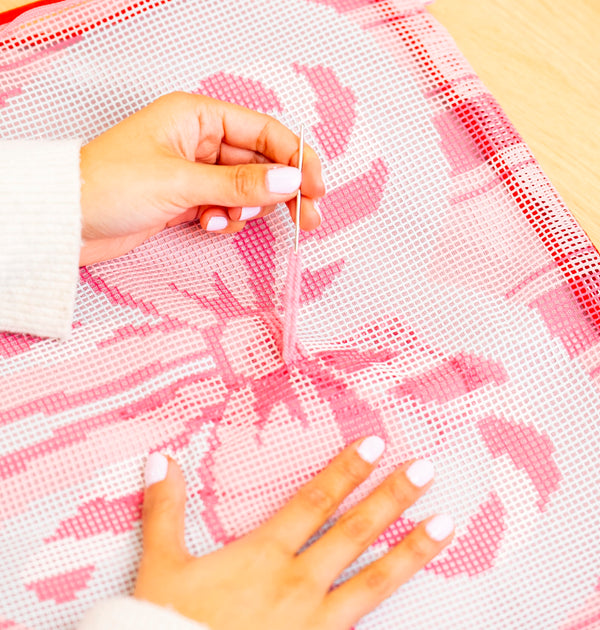
Half stitch is a simple diagonal stitch that makes up just one leg of a full "X" in cross stitch and tapestry. It's super easy to learn and the perfect gateway into needlecraft.
Absolutely not! Half stitch is an incredibly simple technique that is perfect for beginners looking for a new hobby and seasoned crafters looking for a relaxing project.


