









The Fold Leather Wallet Guide
Welcome to the guide for your The Fold Leather Wallet Kit. We're so excited to have you here!
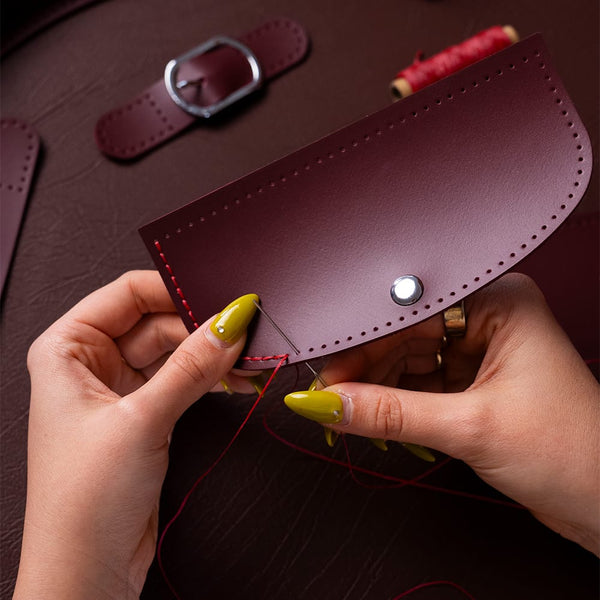
This guide will take you through the process of making your wallet from beginning to end - from getting familiar with your kit's contents, learning saddle stitch and finally, assembling your wallet.
No leatherworking experience needed. Every piece comes pre-cut and pre-punched, so all that's left is the satisfying part: stitching it together by hand. 💳

💳 Your Wallet Kit Includes:
🤎 7 pre-cut, pre-punched genuine leather wallet pieces
🤎 Waxed thread in 2 colour options
🤎 Metal thimble
🤎 Bulldog clips
🤎 Sewing needle
Watch the below video for a deep dive into your kit contents.

What's Inside Your Fold Kit
Personalising Your Wallet
If you've ordered our Letters & Numbers Embossing Kit, below we have a bonus tutorial video which will show you how you can customise your leather pieces. We recommend you add embossing before you start assembling your wallet as it's much easier to do on flat pieces.

Bonus Tutorial: Embossing Kit
🧵 Getting Started
Now you know what's inside your kit - it's time to get started! In this section we'll introduce your leather pieces, which we've labelled A to G so you can easily follow along in the videos. Then we'll go through how to thread your needles and how to saddle stitch confidently.

Your Leather Pieces

How to Thread Your Needles

How to Saddle Stitch

🪡 Assembling Your Fold Wallet
Now you've nailed the technique, it's time for the best part - assembling your wallet!
In the below videos we'll be taking you step-by-step through each part of your wallet, in four parts.
Take it slow and steady, and make sure to watch the videos in full if you get stuck along the way.
Part 1 - Left Pockets
🧰 Quick Tips!
Before you continue sewing your wallet, here's a few tips & tricks to help you along your way.
📎 Use your bulldog clips to keep your pieces lined up while you sew. It's normal to move these frequently as you stitch.
🫰 Pop on your metal thimble to help push the needle through the thicker, layered sections.
🧵 Pull each stitch snug, but not too tight, so your seams stay neat without puckering.
⏳ Take your time! Feel free to spread your make over a few sessions. Remember crafting is all about enjoying the journey!

Part 2 - Right Pockets

Part 3 - Base of Wallet
Part 4 - Top of Wallet
✨ You Did It!
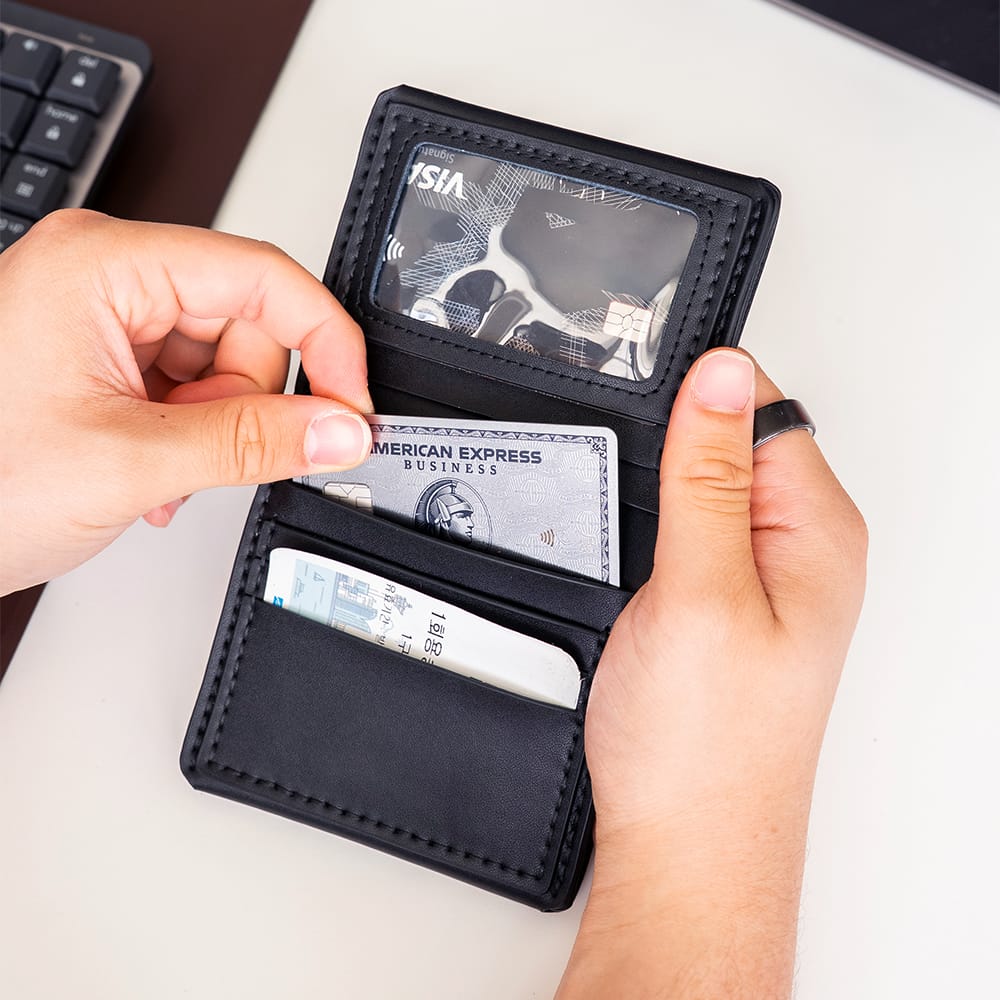
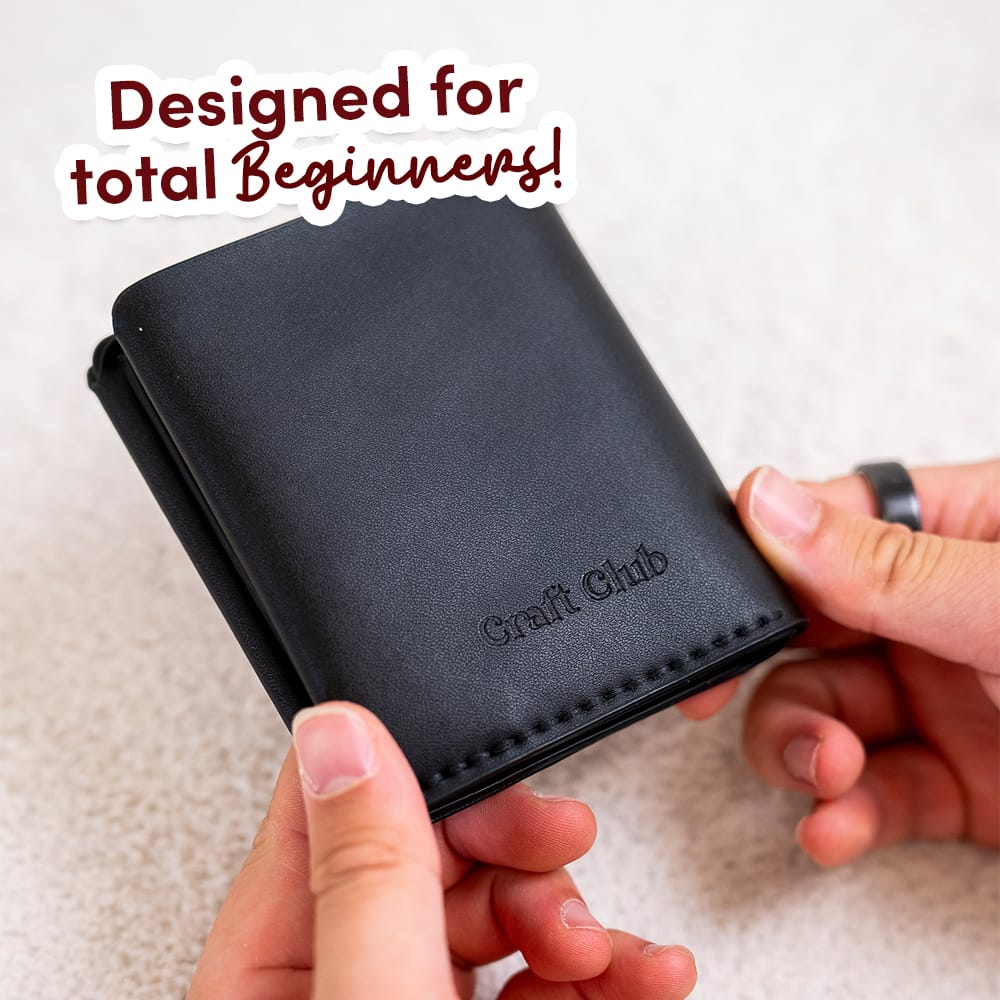
Your Fold is complete! Slide your cards into the slots, your ID into the clear window and it's ready to go. We hope you loved making it as much as you'll love using it every day. 🤎