


Magical Moss Rug Guide & Tutorials
Welcome to the guide for your MAGICAL MOSS Rug Kit!
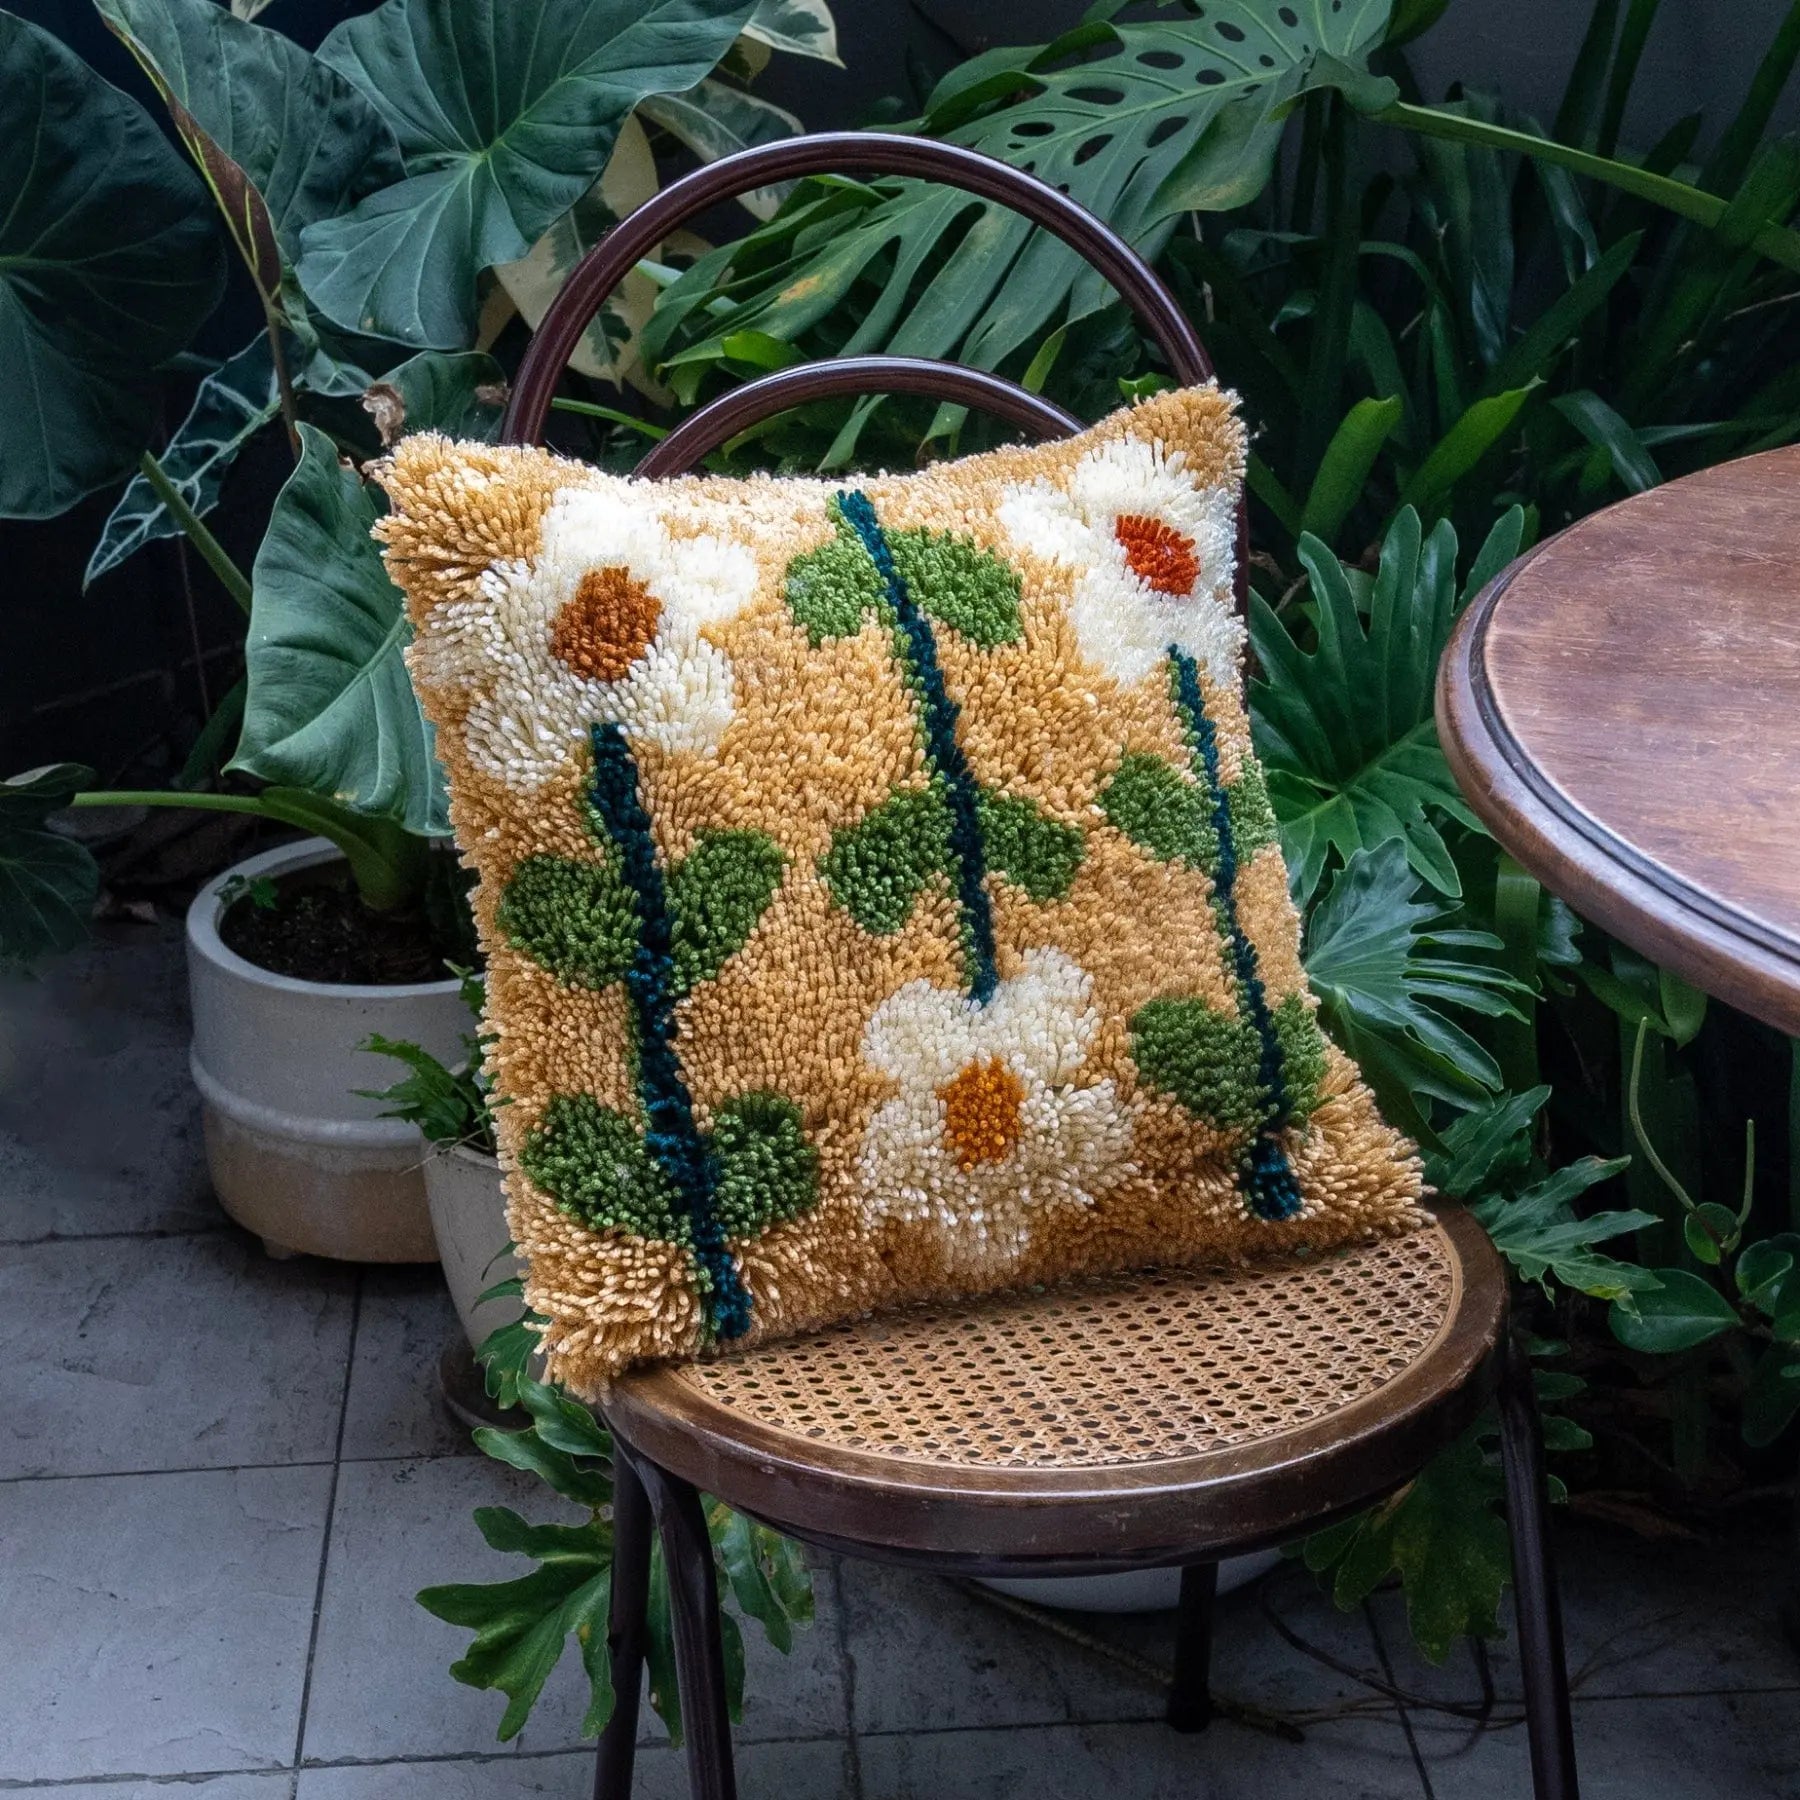
Below you will find all the information you need to create your own mossy oasis to display in your home. We've designed this kit to be used as a rug but it also makes a gorgeous decor piece for your wall or as a table display.
🌼 🌼 🌼

Inside Your Kit
Your moss kit includes ...
Materials:
⭐ Pre-printed canvas base
⭐ Premium felt backing with non-slip grip
⭐ Feather yarn in 10x colours
⭐ Chenille Yarn in 4x colours
⭐ Milk yarn in 2x colours
⭐ Bobble yarn in 2x variegated colours
⭐ 3x full packs of cotton thread
Tools:
⭐ Pom pom scissors
⭐ Small latch-hook (different tool from our other kits)
⭐ Weaving needle
⭐ Steel sewing needles
⭐ Glue spatula
Learning:
⭐ Online instructions and video tutorials
⭐ Pattern template
Additional materials:
Our kits come with everything needed to sew the coaster backing on, but you may want to use fabric glue or hot glue if you have it handy.
You may also want to use sharp craft scissors for cutting your base. Our XL Gold Rug Trimming Scissors are perfect for this kind of project. You can find them here.
Before
After
Magical Moss Rug Guide
What you'll find inside your kit:
1. Choosing your yarn for each section
Your first step in creating your magical moss rug is to lay out all of your materials and choose which yarn and colours you'd like to use for each section. It's a good idea to do this at the start, to familiarise yourself with your materials.
You can follow the product image and diagrams below to make yours exactly like ours, however I encourage you to get creative and mix/match your yarn colours to make it your own!
Don't put too much pressure on yourself at this stage. Go with colours that feel right, but remember you can always change them later as you begin working on your rug.

The textured sections:
Below you'll find a guide for the textured sections of your rug. You'll be working on these sections first.
Orange: Bobbles (using both veriegated green and orange Bobble Yarn)
Purple: Fuzzy Loops (using green, blue, white and brown Chenille Yarn)
Blue: 'Hair' Moss (using olive and orange Milk Yarn)
You can follow our product image and match each colour so that your finished rug looks exactly like ours. But you can also swap colours and yarn types around.

The woven grass sections:
Next you'll be working on your grassy areas, using your feather yarn. Your kit includes 5x colours of 'earthy' feather yarn:
- Lime green
- Grass Green
- Dark Green
- Brown
- Yellow
The below diagram shows where we have placed these colours, but you can mix and match your colours as you go.

The woven water sections:
Next you'll be working on your water areas, using your feather yarn. Your kit includes 5x colours of 'water' feather yarn:
- White
- Grey-Blue
- Ice Blue
- Bright Blue
- Mid-toned Blue
The below diagram shows where we have placed our blue colours. The white is used around the edges of each blue section to look like bubbles on stream. Just as it is with your previous grass sections, you can mix and match the blue colours here too.

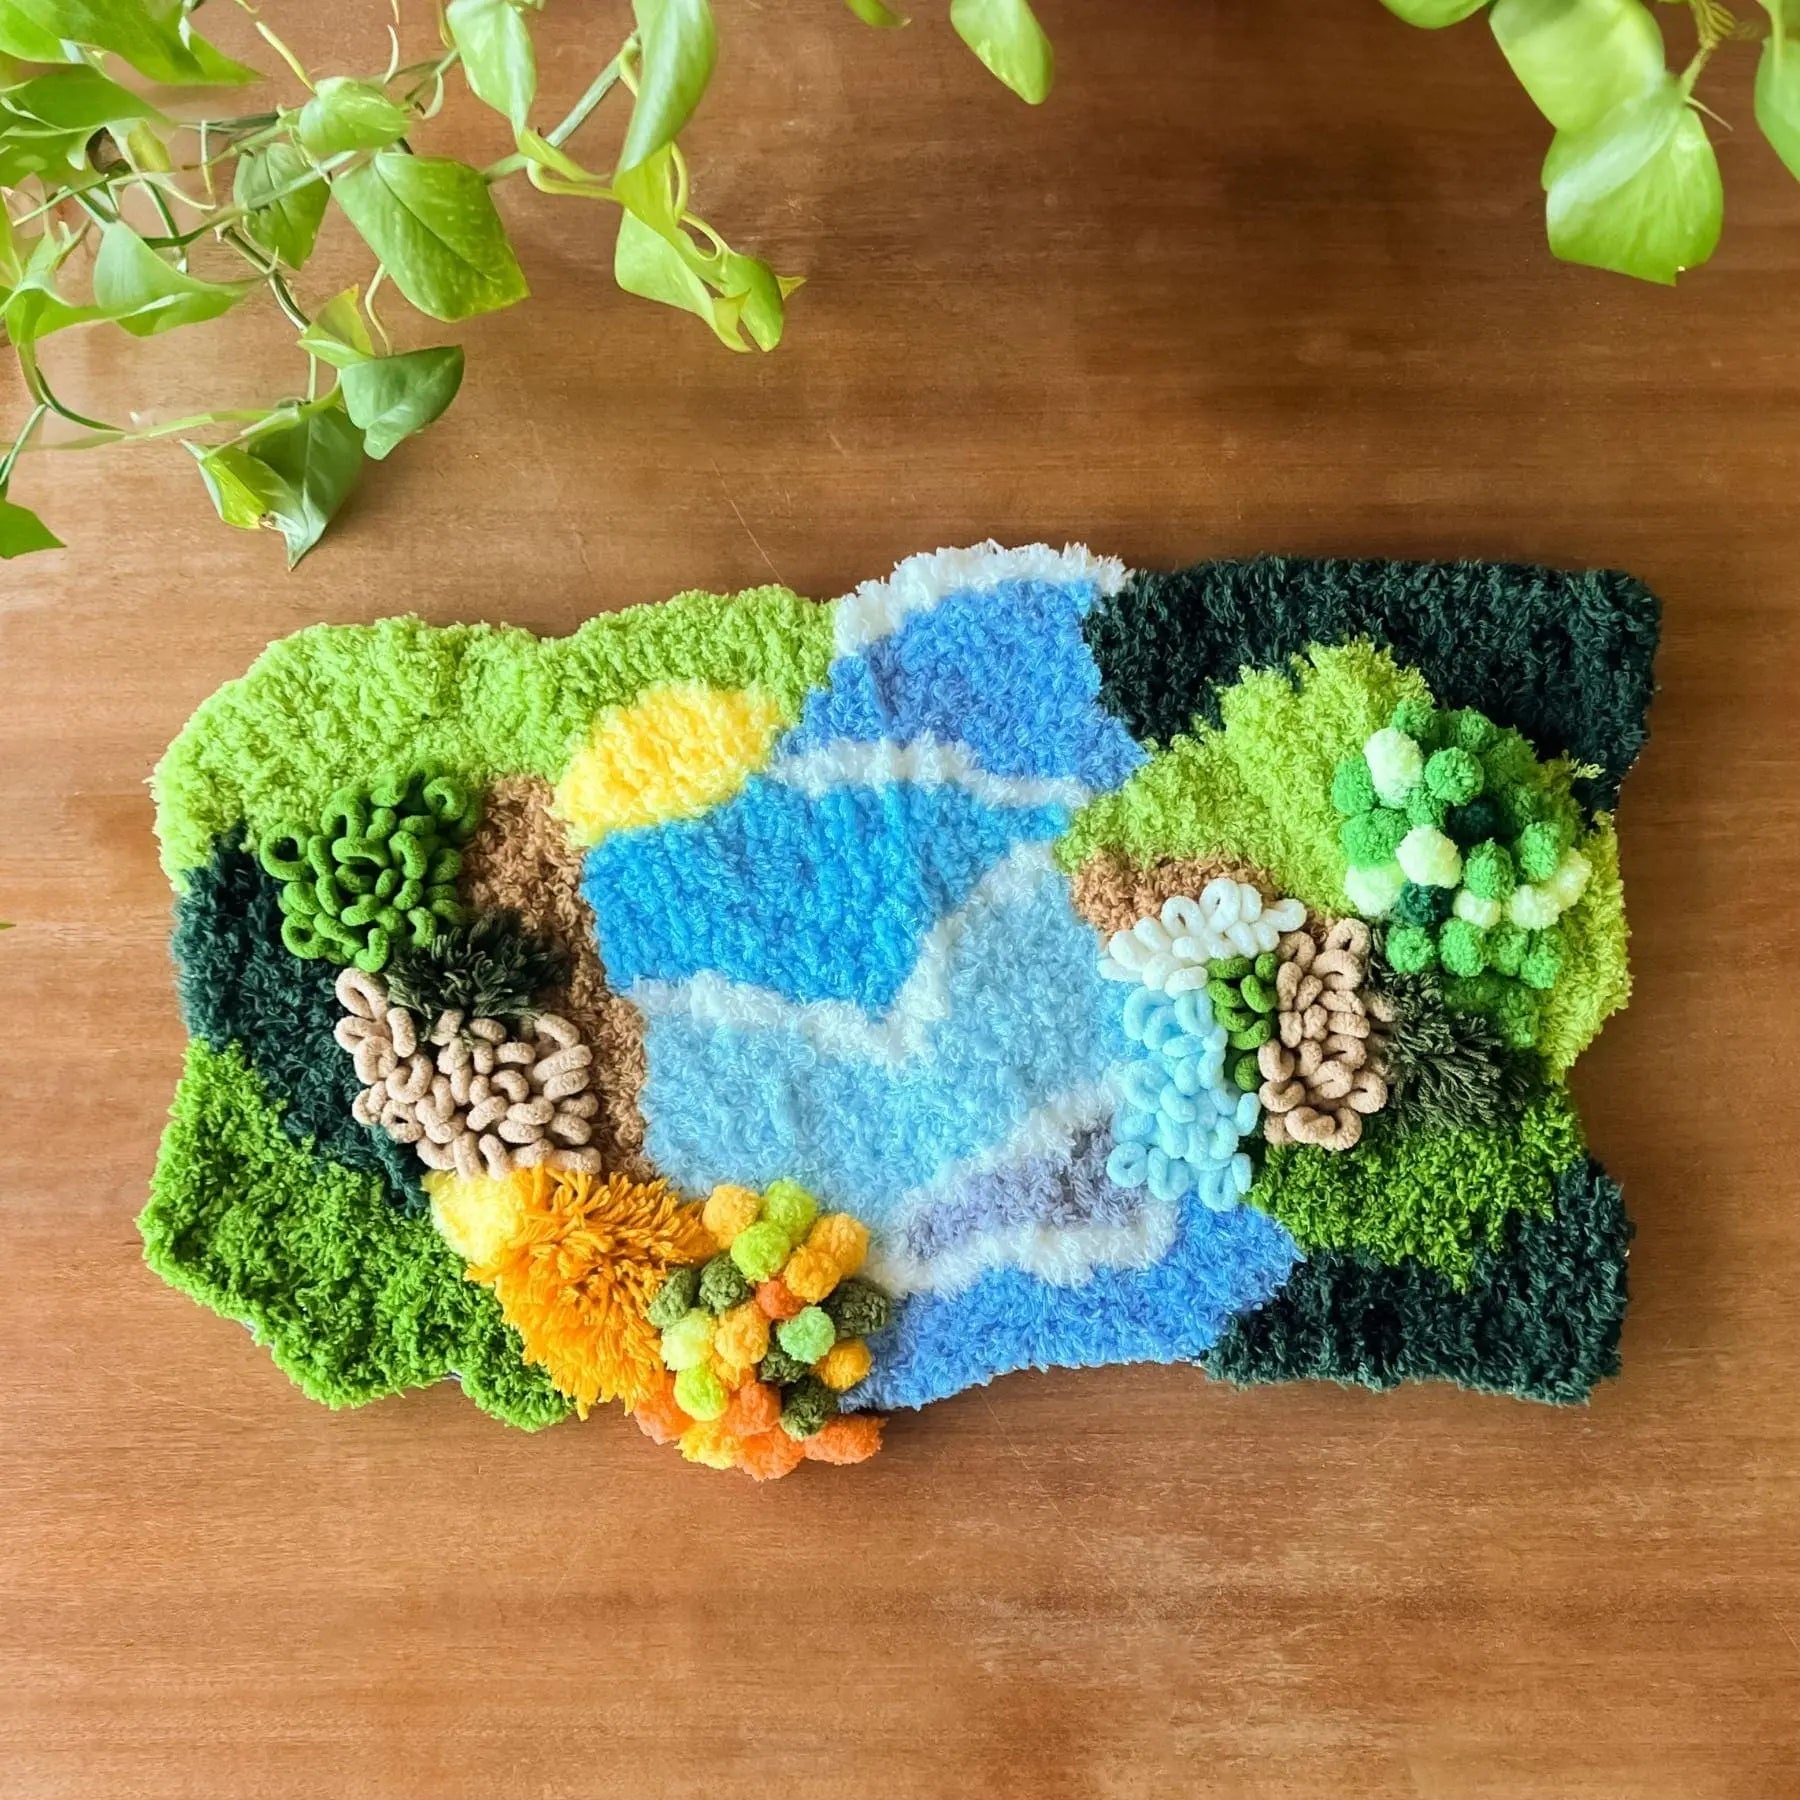
The full diagram:
For easy reference, this is the full diagram of our rug. Including all textured sections, woven grass and water.

2. Weaving your Bobble Yarn
The first area you want to fill in is your bobble yarn. In the first diagram thats indicated by the orange sections. For this you'll need your bobble yarn and your plastic latch-hook.
Follow the below video tutorial to fill in your chosen bobble sections.
3. Creating Fuzzy Loops
Next you'll be creating your fuzzy loops using your chenille yarn. This is indicated by the purple sections. For this you'll need your chenille yarn in your chosen colour and your plastic latch-hook.
Follow the below tutorial to fill in each section of your loops.
4. Latch-Hooking your 'Hair' Moss
Your final textured piece will be familiar to you if you've done one of our latch-hooking kits before. This time we use a slightly different technique though.
You'll use your milk yarn for this section and you'll be cutting it into equal pieces shown in the video below. You'll be using 2x pieces per stitch to give a more dense feel. In order to make 2x pieces more manageable we use a different style of latch-hooking with this hook.
5. Weaving your grass sections
Now it's time to weave in the 'grass' underneath your moss. You'll be using your 5x shades of feather yarn listed above, as well as the plastic weaving needle included in your kit.
Follow the technique in the below video to weave your grass sections. Your rug uses the exact same technique, just on a larger scale.
6. Weaving your water sections
Follow the same technique to weave in the 'water' sections of your rug. You'll be using the 5x shades of blue and white feather yarn listed above and your plastic weaving needle again.
Once you've finished your water, check your whole rug to see if there are any sections left bare. You can fill these in with green or blue to ensure your rug doesn't have any gaps when it's finished.
BONUS: Other techniques for creating texture on your rug
Our Magical Moss rug includes 3x types of textured elements on the rug: bobbles, fuzzy loops and 'hair' moss. But I also have a couple extra ways of that you can add texture if you have leftover yarn at this stage of your rug.
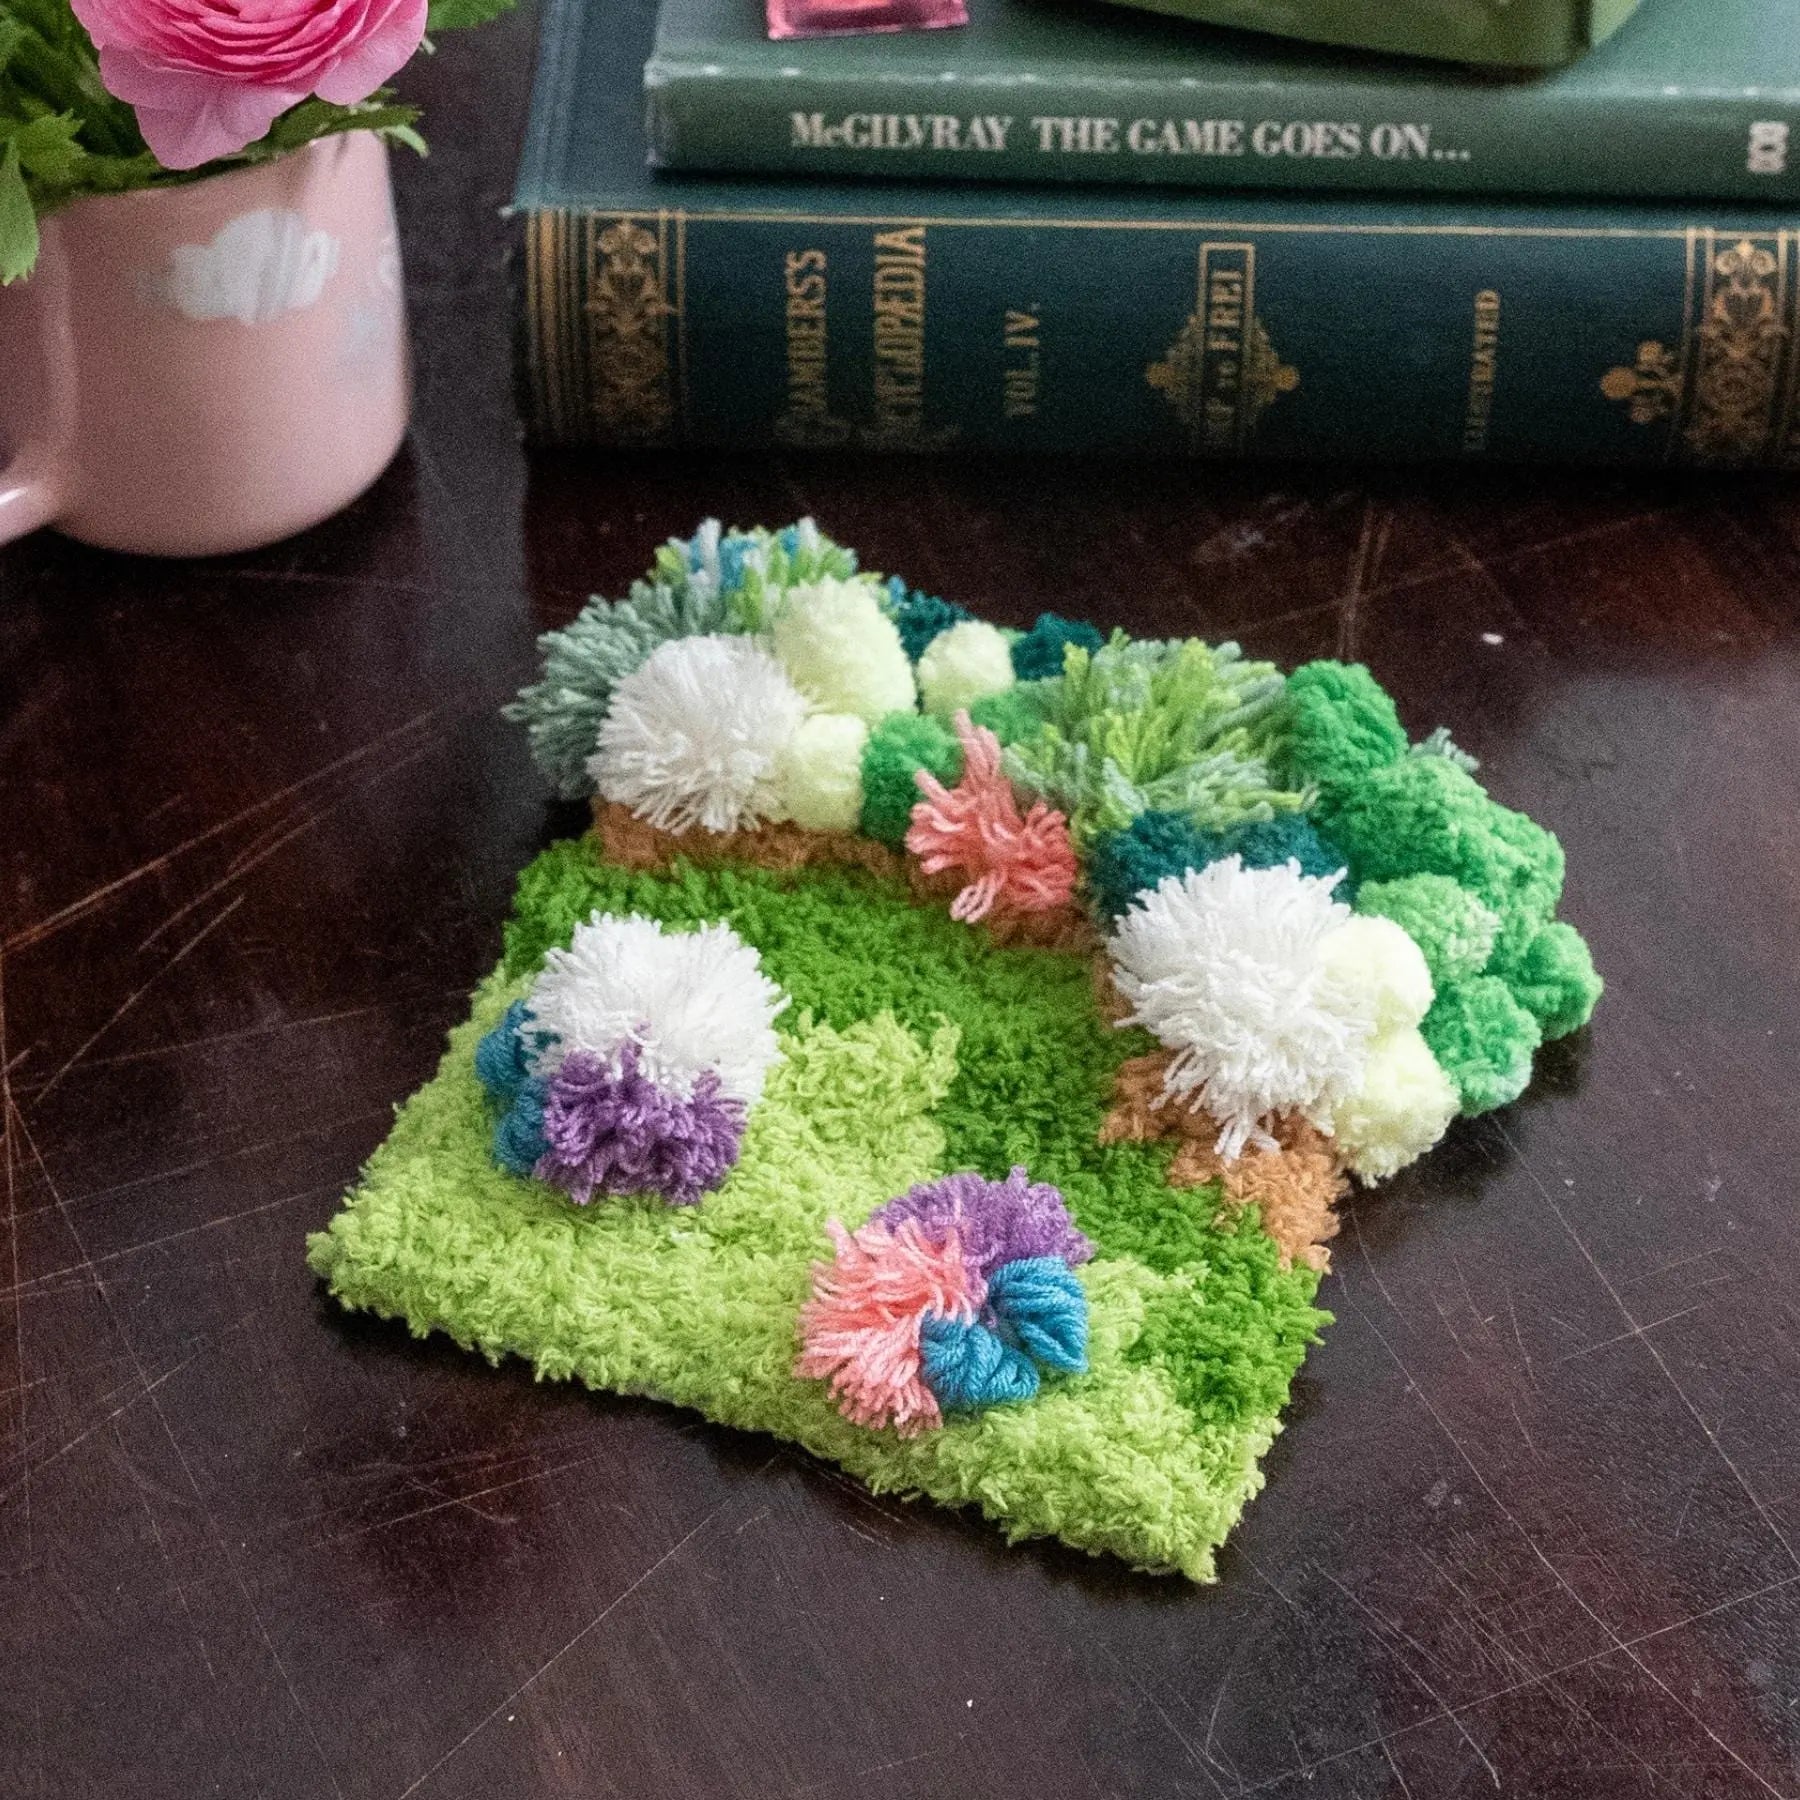
Pom Pom Flowers
You can use your leftover milk yarn or any yarn you have around your home to create pom pom flowers. The below tutorial shows you how to create pom poms without any extra tools, as well as a few variations.
Embroidered Details
You can also use your leftover yarn to embroider details onto your grass or water sections. Our tutorial shows this with milk yarn, but you can also use this technique with your feather yarn or chenille yarn.
Why not add contrasting white or blue flowers onto your green section, using your leftover feather yarn? The options are endless!
This technique also works if you have your own stash of spare yarn at home.
7. Backing your Rug
Congratulations on finishing the main part of your rug! Now you're onto the home stretch, its time to sew the back of your canvas.
Follow the instructions in the below video to back your rug.
Start by trimming your canvas, leaving about 1-1.5 inches of space around your finished moss piece. Next you'll thread your sewing needle with the cotton thread included in your kit. Fold the edges of your canvas over and stitch them down with the thread, this doesn't have to be neat or perfect as it's just to 'pin down' the backing so it doesn't move around.
If you're using it as a wall hanging, it may be better for you to leave it at it's current stage. It will be easier to hang on a wall hook if the back is free from felt. Plus it will save you some time and energy!
Sewing your Backing
To sew your fabric you'll want to trace the shape of your rug onto your felt so that you can cut out the fabric to match the shape. You can do this with a pencil or pen.
You will then need to pin your felt backing to your rug so you can begin sewing the edges. You can do this by using sewing pins, bulldog clips or even tacking the back with a hot-glue gun. I find bulldog clips the easiest method of holding my rug to the felt.
Using 3-strands of your cotton thread, begin stitching your canvas to your mossy rug using a whip stitch. This just means that you will whip your thread around and around the edge of your coaster as you go around. Don't worry if your stitches don't look perfectly neat, they'll blend into the grass on your rug and won't be visible when you're finished.
Alternative Backing Video
For a longer video about backing moss pieces, you can check out our backing coaster video as well. This shows a glue example as well as stitching, which you might want to try for your rug as well.